Hour of Twilight Dungeon Guide: Bosses, Route and Tips
Hour of Twilight strategy for Arcurion, Asira Dawnslayer and Archbishop Benedictus, with role jobs, Thrall's helping spells and the mistakes that wipe groups.
Hour of Twilight is the last of the three Cataclysm patch 4.3 Caverns of Time dungeons. You escort Thrall and the Dragon Soul across the Dragonblight to Wyrmrest Temple, and Thrall fights beside you on every boss. The journal lists the dungeon as Heroic only. Most of what goes wrong here comes from ignoring what Thrall is doing for you.
Everyone: use Thrall's tools. Break him out of ice on Arcurion, stand in his fire totem on Asira, and stand in his water shield on Benedictus.
Tank: on Asira, point her at the group so you stand between the marked casters and her knives.
Healer: dispel the stacking shear debuffs on Benedictus quickly, and save your big group heal for the Arcurion 30% burn.
DPS: on Asira, hold your biggest hits for when her blade shield goes up, because small hits do nothing.
Trash and route
The run is linear and you follow Thrall the whole way.
You arrive in the Crystal Vice canyon. Ice elementals ambush the group in waves while Thrall moves along the path. Clear the ambushes, and Arcurion shows himself at the canyon exit.
After Arcurion, head through Galakrond's Rest. A gauntlet of Twilight's Hammer cultists (assassins, bruisers, rangers, shadow-walkers and thugs) stands between you and the red drakes that fly you toward Wyrmrest. Asira Dawnslayer ambushes the group there and kills one of the drakes on her way in.
When Asira dies, Thrall revives the drake and flies ahead. Take the drakes to Wyrmrest Temple, where faceless ones and slimes come up along the Path of the Titans from the Maw of Destruction. The Flailing Tentacles there vanish on their own shortly after they appear and cannot be attacked, so ignore them. Clear the faceless ones and Archbishop Benedictus leads you into the temple for the final fight.
Treat the cultist gauntlet with some respect on a fresh group. Pull one pack at a time and let the tank collect everything before you open up.
Arcurion
Abilities
Hand of Frost: a frost hit on Arcurion's current target. It is steady tank damage.
Chains of Frost: a frost wave that damages and roots everyone in a wide radius around him.
Icy Boulder: Frozen Servitors on the canyon walls throw boulders at random players. The boulders land on marked spots on the ground.
Icy Tomb: Arcurion freezes Thrall in a block of ice. Thrall is the one keeping the servitors in check, so the tomb has to be broken.
Torrent of Frost: at 30% health Arcurion starts dealing frost damage every second to the whole group and slowing everyone.
Tank
Hold Arcurion where the group can see the ground markers clearly and keep him still. When Chains of Frost roots you, you can usually just keep tanking. If you get a boulder marker yourself, step out and bring him with you.
Healer
Chains of Frost is magic. A mass dispel, or freedom effects from paladins and hunters, takes pressure off you when several people are rooted at once. The real test is the 30% mark. Torrent of Frost ticks on everyone until the boss dies, so keep your strongest group healing cooldown for it and ask the group to stack so your area heals reach everyone.
DPS
When Thrall is frozen, switch to the Icy Tomb right away. If he stays frozen the servitors pile up and the boulders come much faster. Groups with very high damage can push Arcurion to 30% instead, which frees Thrall automatically, but only do this if you are sure you can get there quickly. Always step out of boulder markers. At 30%, Thrall casts a Bloodlust on the group that works even if you already had one this fight, so this is the moment to use everything you have and finish the fight.
Asira Dawnslayer
Abilities
Mark of Silence: Asira marks the group's spellcasters. When a marked player casts, she throws a knife toward them.
Throw Knife: the knife hits the first player in its path. If that player carries Mark of Silence, they are also silenced for 2.5 seconds.
Choking Smoke Bomb: a smoke cloud around Asira that nobody can target into or out of. It also deals nature damage over time.
Blade Barrier: at low health Asira turns any hit below a certain size into 1 damage. A big enough hit breaks it.
Lesser Blade Barrier: a weaker barrier she puts up after the first one breaks. It works the same way with a lower threshold.
Thrall helps with Lava Burst and Rising Fire Totem. The totem stacks up the damage and maximum health of players standing near it. He also heals himself with Healing Wave.
Tank
Face Asira toward the group. That puts you between her and the marked casters, so her knives hit you and you are not silenced. When she drops Choking Smoke Bomb, pull her out of the cloud immediately so everyone can target her again.
Healer
You are a spellcaster, so expect to be marked. Before you cast, put the tank or another unmarked player between you and Asira. Getting silenced at the wrong moment is how this fight goes wrong. Stand in Thrall's fire totem whenever you can. The extra health makes everyone easier to keep alive.
DPS
Marked casters should use the same trick as the healer and keep a body between themselves and Asira. Stay in the Rising Fire Totem, because its stacks also raise your damage. Once Blade Barrier goes up, filler attacks are wasted. Use your largest single hits to break it, then do the same for Lesser Blade Barrier. The longer you have stood in the totem, the easier this gets.
Archbishop Benedictus
Abilities
Stage one, the Holy Light:
Righteous Shear: a stacking debuff on a random player. Each stack makes holy damage splash onto anyone nearby.
Purifying Light: three orbs rise above Benedictus and fly at players, each exploding as a Purifying Blast.
Wave of Virtue: a wave of holy energy sweeps the platform, damaging and knocking back the group.
Stage two, at 60% health: Benedictus casts Twilight Epiphany, shows his true form and traps Thrall in a Twilight Prison.
Twilight Shear: the shadow version of Righteous Shear.
Corrupting Twilight: three shadow orbs that explode as Twilight Blast.
Wave of Twilight: the shadow version of the wave, with the same knockback.
Thrall's help in stage one:
Chain Lightning: Thrall destroys orbs of Purifying Light.
Water Shell: protects players from Wave of Virtue and increases their damage.
Cleansing Spirit: Thrall removes one stack of a magic effect.
Tank
Keep Benedictus in a stable spot so the group can move between him, the orbs and Thrall's shield without running far. In stage two you lose Thrall, so watch the shadow orbs yourself and step away from the player with Twilight Shear.
Healer
Dispel the shear debuffs early. Righteous Shear and Twilight Shear both get worse with every stack, and players carrying them damage everyone nearby. Thrall's Cleansing Spirit helps a little, but do not rely on it. In stage two nobody shields the group from Wave of Twilight, so keep everyone topped before each wave.
DPS
In stage one, Thrall uses Chain Lightning on two of the three Purifying Light orbs, so you only have to dodge one. When Wave of Virtue is cast, everyone runs into Thrall's Water Shell no matter where the wave is heading, because the shell also adds damage. In stage two the three Corrupting Twilight orbs are yours to deal with. Dodge them, or have a ranged player destroy them. There is no shell for Wave of Twilight, so position to take the knockback safely. If you have the debuff, move away from your allies.
Loot highlights
Every boss drops epic gear, and Benedictus has the largest loot table of the three.
Horde and Alliance assaults against the Twilight's Hammer have slaughtered many of the cult's fearsome elemental ascendants. One exception is Arcurion, a formidable ice ascendant tasked to slay Thrall and retrieve the Dragon Soul. Should this twisted elemental being succeed, nothing will be able to stop Deathwing from ushering in the Hour of Twilight.
Hand of FrostChains of FrostIcy BoulderIcy TombTorrent of Frost
Archbishop Benedictus is the revered leader of the Church of the Holy Light. For years, his wise guidance has been instrumental in seeing humanity through bleak times. Yet beneath his apparent benevolence lies the shocking truth that Benedictus has pledged himself to the eradication of all life on Azeroth through the agency of his dark master... Deathwing.
Righteous ShearPurifying LightPurifying BlastWave of VirtueTwilight ShearCorrupting TwilightTwilight BlastWave of Twilight
Former blade-for-hire Asira Sunbright was initially leery of working for the Twilight's Hammer, but the cult's generous payments quickly won her. In time, she succumbed to the corruptive influence of her dark employers, even going so far as to take the name Dawnslayer. As one of the cult's deadliest assassins, Asira has been called upon to exterminate Thrall and his comrades.
Mark of SilenceThrow KnifeChoking Smoke BombBlade BarrierLesser Blade BarrierLava BurstRising Fire TotemHealing Wave
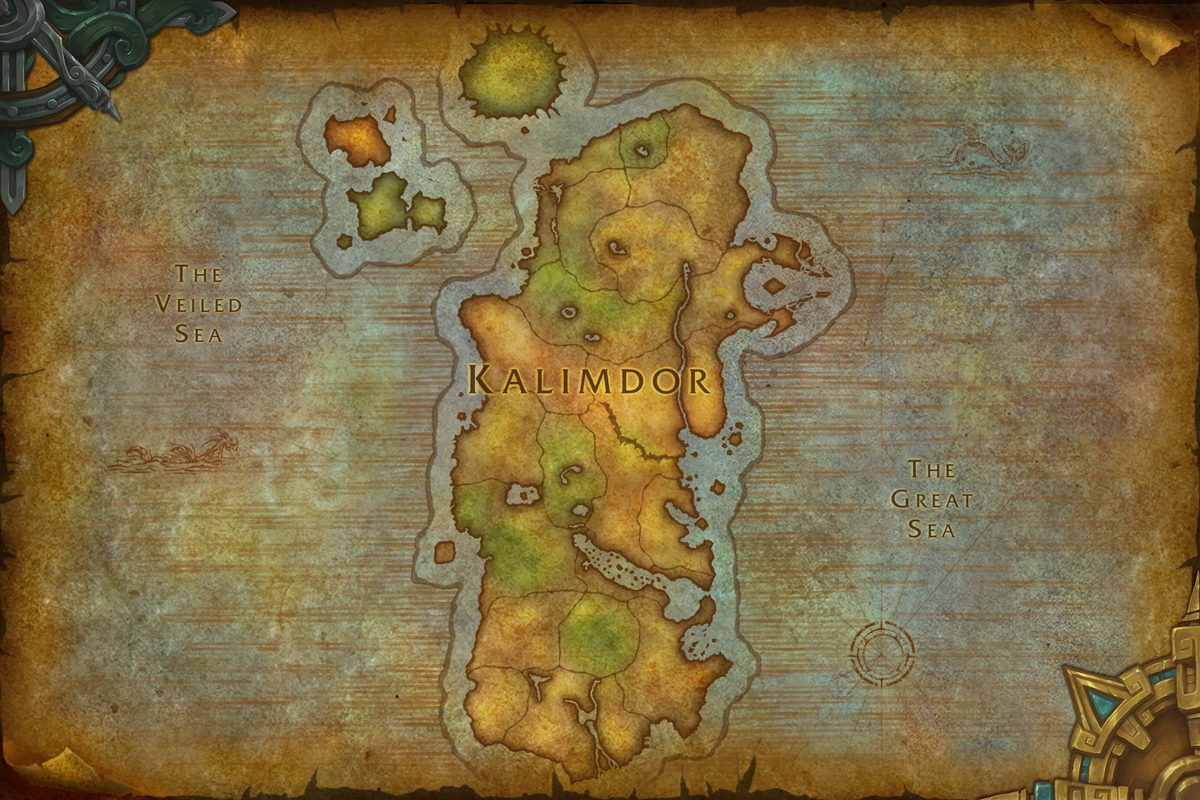
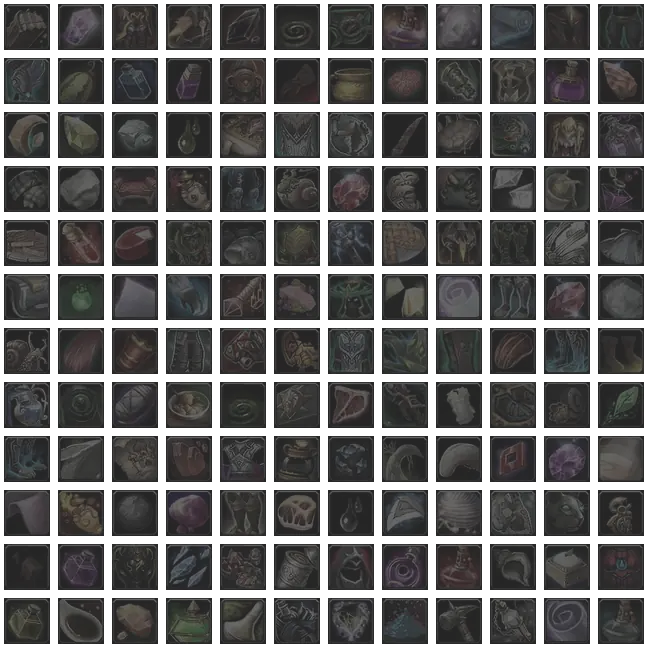
The game data places the dungeon entrance for Hour of Twilight in Kalimdor at map coordinates 58.9, 84.0. The Hour of Twilight database page carries the raw journal and the full loot grid.
Questions
How many bosses are in Hour of Twilight?
The Adventure Guide lists 3 encounters.
What loot does Hour of Twilight drop?
The journal lists 25 drops across its encounters. Open a boss guide or the database page for the per-encounter tables.
Is this the database page for Hour of Twilight?
No. This is the journal-derived encounter reference, not a strategy guide. The encyclopedia page with the raw journal tree and the full loot grid is linked as Database on this page.
Where does this guide's text come from?
Quoted Adventure Guide sections come from TheWoWDB's retail datamine (client build 12.1.5.70448, ingested 2026-10-16). We do not invent positioning, assignments, or cooldown timings.
Source and build
This page quotes the Adventure Guide. It does not add player strategy such as positioning, assignments, stack or spread calls, or cooldown timings unless that sentence is already in the journal. Quoted sections come from TheWoWDB Adventure Guide datamine (client build 12.1.5.70448, ingested 2026-10-16). Ability names link to first-party spell pages. When a newer retail build is ingested, this page updates with it.
 TheWoWDB
 Arcurion Legguards
 Iceward Cloak
 Dawnslayer Helm
 Mandible of the Old Ones
 Rosary of Light
 Veil of Lies
 Dragonsmaw Blaster
 Treachery's Bite
 Betrayer's Pauldrons
 Desecrated Shoulderguards
 Mantle of False Virtue
 Pauldrons of Conviction