 TheWoWDB
To tame a flaming boar with the torch from this quest:
Step 1; Either get a friend or another account to make a tauren and go through the intro quests. You are aiming for the quest "Feed of Evil"
Step 2; Get your hunter to the boar pit in Mulgore involved in the quest "Feed of Evil".
Step 3; Begin taming the boar. They die after 7 seconds ON THE DOT, so figure out how long your tame takes before trying.
Step 4; Spam Revive Pet near the end of the tame.If successful; You'll see a pet bar for a split second, but no level-up animation. The pet will despawn, and you'll have a blank whistle instead of a boar face. Log out and back in, select the newly shown boar picture, and you now have bacon!
In unsuccessful;
- The mob will run out of range and die later.
- The pet dies, and you see a ding.
- The pet is tamed, then dies.
- The pet dies before being tamed.Taken from Petopia forums and slightly edited to improve accuracy and readability.
Quest

Feed of Evil
A World of Warcraft quest in Camp Narache. Facts and objectives from the current retail game data.
The highest voted Wowhead comments for this page. They are community notes, not TheWoWDB comments.
If you do this quest and The Battleboars at the same time, you can aggro a boar (or a bunch of boars), kite them to a trough, and use the torch to set them running. Each aggroed boar killed by fire rewards kill credit twice, meaning that you can aggro 5 boars and complete the quest in one shot.
I am having a really hard time taming this guy. How vital is it to spam Revive Pet near the end of the cast? I tried the "/script PetAbandon()" macro, and all that does is literally abandon my pet, no matter what pet i have out.
Any tips?
Quest facts
Check whether you have already completed this quest
in-game: /run print(C_QuestLog.IsQuestFlaggedCompleted(14461))
Description
We must do more than simply hunt boars here. The eyesore that has been left upon the land must be purged. To give them a wild thirst for blood, the battleboars are force-fed raw flesh. Take this torch, and use it to burn the troughs of meat and gore to cinders.
Where to go
Pins are the quest’s own POI points from the current retail client, projected onto the in-game zone map. The game marks one blob as the quest’s turn-in; the rest are objective areas. Points that fall outside a map’s window are dropped rather than guessed at.
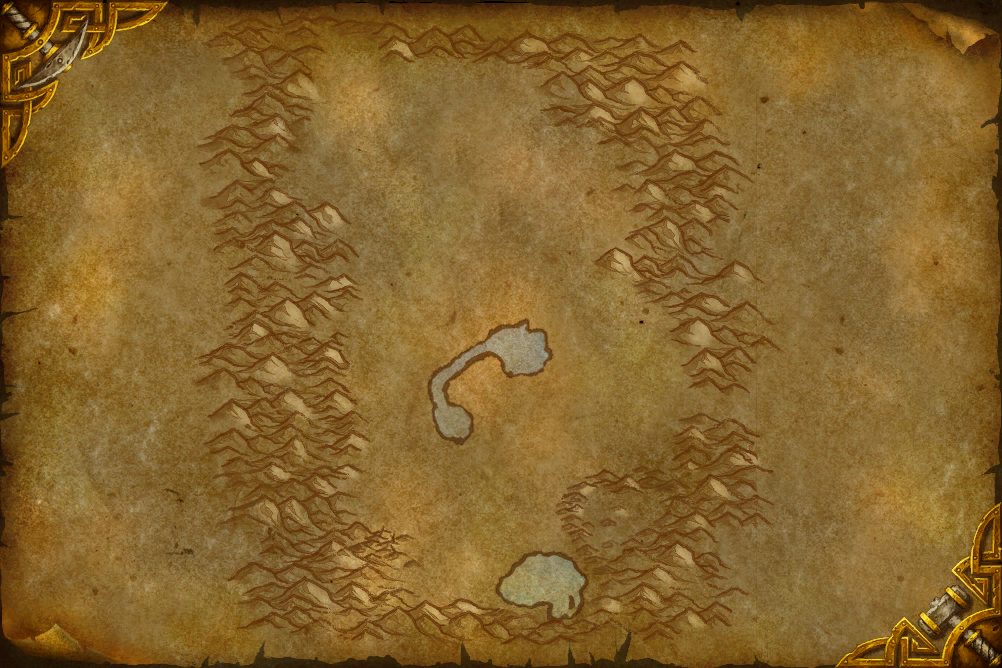 Objective area
In-game waypoint: /way #7 46.2 82.7
Coordinates
- Objective areaMulgore 46.2, 82.7
/way #7 46.2 82.7
Map coordinates of the pins above. An area the client draws as a shape is given by the centre of its points.
Nearby on the Camp Narache map
- The Spiritwalkers about 400 yards
- Spirit Guide about 400 yards
Quests whose map markers the client places closest to this one on Camp Narache, nearest first. Distances are straight lines between the markers.
Getting there
Flight points closest to the quest’s turn-in marker on Camp Narache:
- Bloodhoof Village, Mulgore
- Westreach Summit, Thousand Needles
- Camp Mojache, Feralas
- Shadebough, Feralas
From the turn-in, the objective areas lie:
- Objective area
- Objective area
- Objective area
Straight-line distances in yards between the quest’s own map markers (QuestPOI) and the client’s flight-point positions (TaxiNodes); flight paths and terrain are not modelled.
Community notes from Wowhead · 32 comments
Top 3 shown aboveThe comments below were written by Wowhead users. They are community notes, not TheWoWDB comments. See them in context on Wowhead.
The top 3 are shown in Top Comments above. Read all 32 on Wowhead.
Reward details
Reputation: Thunder Bluff +250
Baine Bloodhoof leads his people, the proud Tauren, from this mighty Horde capital.
Reputation group: Horde.
Other quests in Camp Narache that reward Thunder Bluff reputation: Rite of Strength (+10), Stop the Thorncallers (+250), Rite of Courage (+250), Go to Adana (+25), The Battleboars (+250), Rite of Honor (+350).
Item facts are the current retail client’s (ItemSparse); the specialisations for a pick-one item are the ones the Blizzard quest API lists; faction and currency text is the client’s own. Lowest listed price = the US commodity auction house now.
Storyline
Red Cloud Mesa
Part 8 of 12.
Previous: The Battleboars · Next: Rite of Honor
- 1The First Step
- 2Rite of Strength
- 3Our Tribe, Imprisoned
- 4Go to Adana
- 5Stop the Thorncallers
- 6Rite of Courage
- 7The Battleboars
- 8Feed of Evil
- 9Rite of Honor
- 10Last Rites, First Rites
- 11Rites of the Earthmother
- 12Rite of the Winds
Storyline order is the client’s own QuestLine data from the current retail build.
Where this quest fits
Before this quest
Taken from the storyline's own step order.
- The Battleboars
There are more threats to be dealt with here. The Bristleback are taming wild boars to be used against us. These armored battleboars have been abused beyond hope of recovery; they must be put down, for our safety and their peace. Go to the pens to the south and slay them, <name>.
After this quest
Taken from the storyline's own step order.
- Rite of Honor
Chief Squealer Thornmantle leads these quilboar. It was he that set upon Greatmother Hawkwind and took her life, leading the attack on Camp Narache. He fled and hid afterwards, but we've found him. He lurks to the west within his foul den of thorns, fending off any braves we send in after him.
The storyline at a glance
Red Cloud Mesa has 12 steps, from The First Step to Rite of the Winds.
Maps its steps are placed on (steps per map): Camp Narache (11), Mulgore (1).
Other storylines on the Camp Narache map
- Tauren Heritage
Steps, storylines and map placement from the client’s QuestLine, prerequisite and QuestPOI data; neighbouring quest text is Blizzard’s own (quest API), shortened to its opening sentences.