The Stonevault is a four-boss War Within dungeon: E.D.N.A., Skarmorak, the Master Machinists and Void Speaker Eirich.
E.D.N.A. and Skarmorak are both object fights: break spikes with beams on E.D.N.A., then kill shards and use fragments on Skarmorak.
Damage the two Master Machinists evenly. Whichever one survives the other gains Silenced Speaker.
On Eirich, clear your Void Corruption near a rift before it grows, and never get within a few yards of a rift.
Trash and route
E.D.N.A. opens the run and Void Speaker Eirich ends it. Minecarts in the east and west wings carry the group back to the center, and anyone can use them.
Just before the Master Machinists in the west wing, a forge can be used by a Warrior, a Dwarf, or a player with at least 25 Khaz Algar Blacksmithing. It grants Imbued Iron Energy to the whole party: 10% versatility for 10 minutes. It is one use, and the buff is lost on death.
Kicks and dispels worth assigning:
Ghastly Voidsoul: interrupt every Howling Fear.
Cursedheart Invader: curse-dispel Void Infection and use spare kicks on Arcing Void.
Forgebound Mender: interrupt Restoring Metals, which it casts at low health, and spend spare kicks on Alloy Bolt.
Engine Speaker: clear the stacking slow from Concussive Smash with a freedom effect or magic dispel.
Void Bound Howler: interrupting Piercing Wail is the priority, since it debuffs the party.
Turned Speaker: kick Censoring Gear, or dispel the magic silence if it lands.
Cursedforge Stoneshaper: spare kicks on Stone Bolt, and kill its Earth Burst Totem before the cast finishes.
E.D.N.A.
Abilities
Volatile Spike: spikes spawn under three random players. Each one destroyed puts a short stacking damage over time effect on the group, and a player who soaks one by running over it takes a very large hit.
Refracting Beam: line attacks fired from the boss at each party member in turn. A beam that crosses a spike destroys it.
Earth Shatterer: at 100 energy E.D.N.A. hits the party with Nature damage and destroys every spike still standing. On Mythic, too many spikes left up for this cast is a wipe.
Use a large defensive on the first Seismic Smash, since there is no shield yet. After that, the healer can dispel as each new Smash starts so the shield covers it and a smaller defensive is enough. Aim your own beam straight at the spikes.
Healer
Every spike broken adds a stack of group damage, so keep players healthy before beams go out. Time the Seismic Reverberation dispel with the tank. Avoid letting Earth Shatterer clear spikes unless major defensives are up, because it lands on top of the spike damage.
DPS
Stack so all the spikes spawn in one spot. Then move off them and fan out loosely around the boss so beams do not cleave each other, letting the beams aimed at the spikes break them together. Breaking them in one batch lines up the stacks and cuts total ticks. Only soak a missed spike with an immunity or a tank.
Mythic+ notes
Clear every set of spikes with beams before Earth Shatterer. Batching the breaks is easier on the healer than breaking them one at a time.
Skarmorak
Abilities
Crystalline Smash: a tank buster that spawns three Crystal Shards at random spots in the room. They damage nearby players on landing and do not need tanking.
Crystalline Eruption: when a shard dies it hits the group and leaves a 100% damage taken increase for 3 seconds, so stagger shard kills.
Unstable Crash: a 15 yard group hit that leaves an Unstable Fragment under each player. Absorbing one gives a stack of a buff (Unstable Energy in the Icy Veins guide) that raises healing done and damage to the shell by 50%, but adds a 30 second damage over time effect. GameLeap lists the fragments as a Mythic mechanic.
Fortified Shell: at 0 energy Skarmorak shields itself, and any shards still alive make the shield bigger. Void Discharge pulses while the shield holds, each pulse 10% stronger than the last.
Tank
Use a defensive for every Crystalline Smash. Keep the boss where melee can reach the shards quickly, since they land randomly.
Healer
Two sets of shards and two Unstable Crashes come before each shell. Staggered shard kills keep the vulnerability from stacking. Use healing cooldowns on Void Discharge, which ramps the longer the shell lasts. Your fragment boosts your healing too.
DPS
Kill all six shards before the shell, one at a time rather than together. Step out of Unstable Crash, then absorb your own fragment. One per player per crash gives everyone two stacks for the shell, which suits most keys and pug groups.
Mythic+ notes
Save damage cooldowns for the shell, not the shards. A fast break limits how far Void Discharge can ramp.
Master Machinists
Abilities
Speaker Brokk: Molten Metal should be interrupted on a kick rotation. Scrap Song jumps Brokk to one side and throws a Scrap Cube through the center, often followed by another Molten Metal. Exhaust Vents turns on three of the four corner vents, which spread Flaming Scrap puddles in their quadrant. Standing on an active vent is lethal. GameLeap lists the 30 second scrap duration as a Mythic mechanic.
Speaker Dorlita: Lava Cannon fires a line at a random player, Igneous Hammer is a big tank hit, and Blazing Crescendo drags the cube to the center for a large party hit, a damage over time effect within 20 yards, and Magma Waves that GameLeap lists as Mythic.
Silenced Speaker: when one Speaker dies, the other gains this buff.
Tank
Use a defensive for every Igneous Hammer. Both Speakers need tanking and they do not share health, so keep them positioned for the group to split damage.
Healer
Blazing Crescendo is the biggest group hit, and a missed Molten Metal kick adds more. Expect damage to jump if one Speaker dies well before the other.
DPS
Damage both Speakers evenly and keep a ranged kick ready for the Molten Metal after Scrap Song. Move to the edges when the cube is thrown. For Blazing Crescendo, stand at the room's edge on a diagonal from the cube. An inactive vent is a safe spot, and beside an active vent works too, as long as you step off once the waves pass.
Mythic+ notes
With Flaming Scrap lasting about 30 seconds, safe space shrinks quickly. Finish the pair before the arena fills.
Void Speaker Eirich
Abilities
Void Rift: two rifts at the room's edge. Coming within 15 yards of one lets it absorb your Void Corruption, but getting within about 3 yards kills you. On Mythic, a rift that absorbs corruption moves to a new spot.
Void Corruption: a damage over time effect with no duration. It ticks every 3 seconds and each tick is 25% stronger.
Entropic Reckoning: hits every player, and each drops an 8 yard Entropy pool that shrinks over about 90 seconds.
Watch where the rifts are, especially on Mythic when they relocate. There is little tank damage here, so you can clear your corruption last.
Healer
Void Corruption is the fight. Push players to clear it early, since every extra tick hits harder. Entropic Reckoning is the group hit.
DPS
Clear Void Corruption at a rift without getting too close. A common order is squishy or less mobile players first, sturdier or mobile players after the rift moves, and the tank last. Sturdier players can drop Entropy on existing pools to save space. Sidestep Unbridled Void.
Loot highlights
Malfunctioning Mechsuit: drops from Void Speaker Eirich on Mythic and starts a short warband quest line that rewards the Stonevault Mechsuit mount.
Defense protocols engaged! Earthen Defense and Neutralization Automaton is active. Informal nomenclature: E.D.N.A. This golem has contingencies for any potential intruder. Killing skardyn is its primary directive, but any unauthorized intuder is sufficient for a lethal response.
The High Speaker spent countless years attempting to restore the Awakening Machine. One failed attempt resulted in a new horror: a golem infused with skardyn corruption. Crystals augment its elemental configuration. Though it barely communicates its alien mindset, its hatred for all creation is undeniable.
Eirich has been deposed, his authority seized! Overwhelmed, he fled to the innermost sanctum of the Stonevault. Yet in his machinations, he succumbed to transformation: Void energy from a malfunctioning artifact corrupts his living stone! Mystical revelations now shatter his sanity.
Master Machinists focus on complex work at prestigious worksites. Brokk and Dorlita have worked as a team for as long as anyone can remember. Granted, Brokk's productivity is slipping, but both are authorized to defend their site with direct and efficient displays of violence.
Fought alongside Speaker Brokk and Speaker Dorlita.
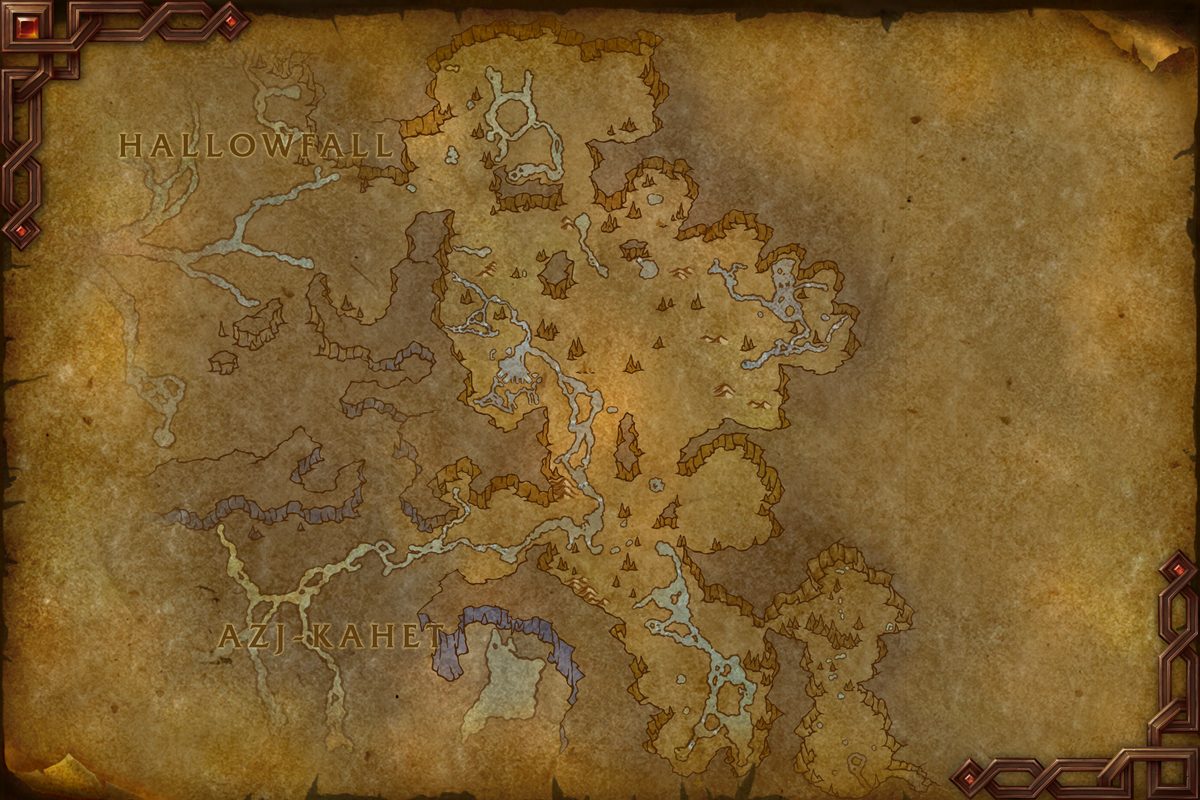
The game data places the dungeon entrance for The Stonevault in The Ringing Deeps at map coordinates 42.7, 8.1. The The Stonevault database page carries the raw journal and the full loot grid.
Questions
How many bosses are in The Stonevault?
The Adventure Guide lists 4 encounters.
What loot does The Stonevault drop?
The journal lists 28 drops across its encounters. Open a boss guide or the database page for the per-encounter tables.
Is this the database page for The Stonevault?
No. This is the journal-derived encounter reference, not a strategy guide. The encyclopedia page with the raw journal tree and the full loot grid is linked as Database on this page.
Where does this guide's text come from?
Quoted Adventure Guide sections come from TheWoWDB's retail datamine (client build 12.1.5.70448, ingested 2026-10-16). We do not invent positioning, assignments, or cooldown timings.
Source and build
This page quotes the Adventure Guide. It does not add player strategy such as positioning, assignments, stack or spread calls, or cooldown timings unless that sentence is already in the journal. Quoted sections come from TheWoWDB Adventure Guide datamine (client build 12.1.5.70448, ingested 2026-10-16). Ability names link to first-party spell pages. When a newer retail build is ingested, this page updates with it.
 TheWoWDB
 Volatile Spike
 Refracting Beam
 Earth Shatterer
 Seismic Smash
 Seismic Reverberation
 Stone Shield
 Crystalline Smash
 Crystalline Eruption
 Unstable Crash
 Unstable Fragment
 Unstable Energy
 Fortified Shell
 Void Discharge
 Molten Metal
 Scrap Song
 Exhaust Vents
 Flaming Scrap
 Lava Cannon
 Igneous Hammer
 Blazing Crescendo
 Magma Waves
 Silenced Speaker
 Void Rift
 Void Corruption
 Unbridled Void
 Malfunctioning Mechsuit
 Skarmorak Shard
 High Speaker's Accretion
 Augmented Refractor Cannon
 Earthen Nullification Aegis
 E.D.N.A. Stabilizers
 "Emergency Stop" Keychain
 Endoskeletal Polecrank
 Refracting Aggression Module