 TheWoWDB
This quest took me a while due to a mass amount of alliance on one side and horde on the other, but I finally got to 8/8.
Seems like you aren't able to raise the same mob twice. Once I got 6/8 from one side I moved to the opposite side with my group and we completed the quest.
Quest

Severing the Sveldrek
A World of Warcraft quest in Pit of Saron. Facts and objectives from the current retail game data.
The highest voted Wowhead comments for this page. They are community notes, not TheWoWDB comments.
This quest is hilariously badly designed.
The entire quest is done in the Pit of Saron final boss area and there is absolutely no instancing, so expect hundreds of alliance and horde DKs. This wouldnt be so bad, but the way the quest is done is you kill the mob and then right click to raise it....and who gets to do that is absolutely !@#$ing random.
So expect to tag 50 mobs and maybe be able to raise one of them. Definitely group up and pray lol
I really cannot get it why Blizzard make some quests so hard to complete, having hundreands of DKs competing for the same mobs. This is not the kind of challenge people appreciate, in my opinion.
Quest facts
Quest ID45399
Check whether you have already completed this quest
in-game: /run print(C_QuestLog.IsQuestFlaggedCompleted(45399))
Requirements
ClassDeath Knight
Read from the Blizzard quest API.
Description
So here's the order of things, as far as I've been told. Mortal walks into Icecrown. Mortal is brutally defeated. Mortal gets raised as Scourge. These fools can't expect to trounce in here, do whatever they want, and leave without any consequence. Time to make them truly as mindless as they act.
Where to go
Pins are the quest’s own POI points from the current retail client, projected onto the in-game zone map. The game marks one blob as the quest’s turn-in; the rest are objective areas. Points that fall outside a map’s window are dropped rather than guessed at.
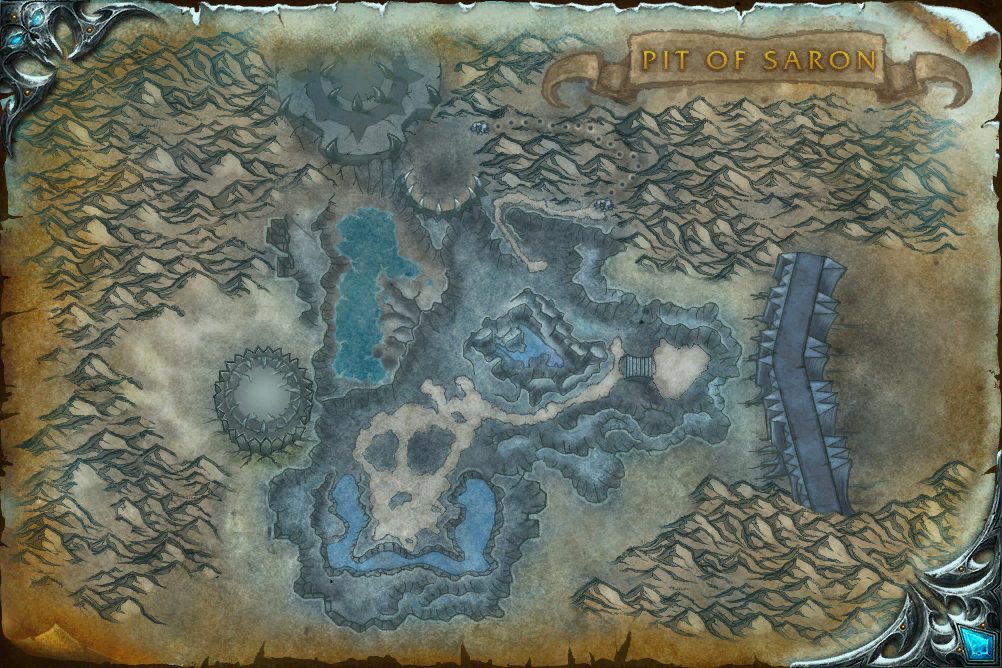 Turn-inObjective areaObjective areaObjective areaObjective areaObjective areaObjective areaObjective areaObjective areaObjective areaObjective areaObjective areaObjective area
In-game waypoint: /way #823 47.8 19.3
Coordinates
- Turn-inPit of Saron 47.8, 19.3
/way #823 47.8 19.3 - Objective area (centre of the marked area)Pit of Saron 44.5, 26.1
/way #823 44.5 26.1
Map coordinates of the pins above. An area the client draws as a shape is given by the centre of its points.
Getting there
From the turn-in, the objective areas lie:
- Objective area
Straight-line distances in yards between the quest’s own map markers (QuestPOI) and the client’s flight-point positions (TaxiNodes); flight paths and terrain are not modelled.
Community notes from Wowhead · 11 comments
Top 3 shown aboveThe comments below were written by Wowhead users. They are community notes, not TheWoWDB comments. See them in context on Wowhead.
The top 3 are shown in Top Comments above. Read all 11 on Wowhead.
Money20 gold22 silver
Experience6,150 XP
Storyline
The Four Horsemen IV
Part 3 of 11.
Previous: Harnessing Power · Next: Return to Acherus
- 1Making Preparations
- 2Harnessing Power
- 3Severing the Sveldrek
- 4Return to Acherus
- 5The Peak of Bones
- 6From Bones They Rise
- 7Thorim's Flame
- 8The Bonemother
- 9On Daumyr's Wings
- 10We Ride!
- 11Champion: Minerva Ravensorrow
Storyline order is the client’s own QuestLine data from the current retail build.
Where this quest fits
Before this quest
Taken from the storyline's own step order.
- Harnessing Power
These fools are using the power of Rimefang's harness to subjugate the frost wyrms. Their leader, Andjor, sits inside on the back of the broodmother and mocks us. He should breathe no longer.
After this quest
Taken from the storyline's own step order.
- Return to Acherus
You've grown a lot since we last met, <name>. Now that we have the harness, let's see if Mograine has a plan to use it.
The storyline at a glance
The Four Horsemen IV has 11 steps, from Making Preparations to Champion: Minerva Ravensorrow.
Maps its steps are placed on (steps per map): Acherus: The Ebon Hold (3), Stormheim (3), Pit of Saron (2), Broken Shore (2).
Other storylines on the Acherus: The Ebon Hold map
- The Four Horsemen I
- Apocalypse
- Weapon of Legend
- Weapons of Legend
- The Blades of the Fallen Prince
- The Maw of the Damned
Steps, storylines and map placement from the client’s QuestLine, prerequisite and QuestPOI data; neighbouring quest text is Blizzard’s own (quest API), shortened to its opening sentences.