 TheWoWDB
Two things to summarize for modern completion of this quest (thanks to the others in this thread):
1) Don't kill the giant aberration too fast, before Travard can engage it. If you do, use your portal scroll rather than leaving instance to save yourself one load screen. Either way, you'll need to start over.
2) When you get to the part where you need to cleanse two Righteous Crusaders, switch to Holy. Prot doesn't get the ability to cleanse magic.
Quest

The Silver Hand
Quest facts and objectives from the current retail game data.
The highest voted Wowhead comments for this page. They are community notes, not TheWoWDB comments.
I don't know if anyone else is having problems with where the quest turn-in marker is on the map, but ...
Despite the quest turn-in marker being in Dalaran, it's correctly in the Sanctum of Light.
Return to your Order Hall, and Tyrosus is there waiting for the turn-in.
Video Guide: https://www.youtube.com/watch?v=gy0AYLFRI8A
1. The Silver Hand (Scenario)
• Accept the quest, The Silver Hand, from Travard at coords 72.2, 49.0 (Krasus' Landing in [zone=7502]).
• Head to the center of [zone=7502], and step on the transporter at 49.1, 47.8.
• Go southwest, down the corridor and steps to 29, 76.
• Click the Portal to Dalaran Crater.
• Travel northwest, into [zone=8044], to Tyr's Fall at coords 13, 57.Stage 1 - The Empty Camp
• Speak with [npc=106429].Stage 2 - Clearing the Way
• Inform [npc=106429] when you are ready, and then follow him underwater, in the lake, to coords 37.5, 13.1.
• Swim through the underwater passage to the Vestibule of the Silver Hand at coords 35, 32.
• Heal your group while it battles the [npc=106579].Stage 3 - Keeper's Rest
• Enter the Tomb of Tyr with your group, and speak with [npc=106429] when you are ready to proceed.
• While your group fights the mobs, stand close to [npc=106429] (Tank) as he will pull mobs off of you, if you receive aggro.
• After the room is cleared of the [npc=106579], [npc=106624] will appear for your group to fight.
- - When possible, try to stand near the back of [npc=106624], to avoid damage from [spell=215705].Stage 4 - The Broken Ritual
• Listen to [npc=106639], who informs you that part of the supplies needed to complete the ritual is located below.Stage 5 - Into the Dark
• Speak with [npc=106639], when you are ready to proceed below.
• Follow your group through the Darkwalk where you will encounter the first pack of mobs, [npc=106578].
• In the next room, at coords 42, 84, your party will battle more [npc=106579].
• Follow your party northeast to a barrier at 47.6, 75.5.
• When the barrier goes down, stay with [npc=106639] as he fights more [npc=106578].Stage 6 - The Maw of the Beast
• Speak with [npc=106676] when you are ready to proceed, and then follow the party across the bridge to 58, 75, where you will engage [npc=106669].
- - Where possible, stand behind [npc=106669] to avoid damage from [spell=215797].
• Shortly before its death, the [npc=106669] kills [npc=106370] and [npc=106371], leaving [npc=106676] all that remains of your party.Stage 7 - Escaping the Prison
• Follow [npc=106676] southwest, back to coords 43, 82.Stage 8 - Aid to the Fallen
• While [npc=106676] holds off Mordoth the Hunter, heal the [npc=106721] and [npc=106722].
• Use [spell=4987] on the pair of [npc=106933].Stage 9 - Something is Coming
• Follow [npc=106676] north, back to the Tomb of Tyr at 37.5, 63.4Stage 10 - Ritual Defense
• Heal your damage dealers while [npc=106677] completes the ritual.
• Stay close to [npc=106774], as he is now your group's tank.
• At approximately 50% of your ritual status bar, Mordoth the Hunter will come up from the tunnel.Stage 11 - The Silver Hand (Final Stage)
• Once the ritual bar is filled to 100%, Mordoth the Hunter will break combat.
• Collect [object=249824] at 37.3, 54.7, to claim your artifact weapon.
• After collecting the weapon, the cut-scene will show you exit the Tomb, and the collapse of the Tomb.
• After appearing on the surface, follow [npc=106677] to 13.0, 57.4, and click on the [npc=106421] to take you back to [zone=7502].
• After landing in [zone=7502], turn in the quest to [npc=106834].
- - If you have already completed a different artifact chain, [npc=90259] will be located at 49.6, 71.5 in the [zone=7638].** IMPORTANT NOTE: [spell=4987] may NOT work on the [npc=106933] unless you're in HOLY spec. **
Quest facts
Quest ID42120
Check whether you have already completed this quest
in-game: /run print(C_QuestLog.IsQuestFlaggedCompleted(42120))
Requirements
ClassPaladin
Read from the Blizzard quest API.
What to do
WhereLight's Hope Chapel, Dalaran, Dalaran, Tirisfal Glades
StorylineThe Silver Hand, step 3 of 3
Rewards60g 66s, 27,650 XP
Description
Too many know of its location, the tomb must be closed forever. First, we must reclaim the hammer. Tyrosus has lent us a force to aid in the recovery of the hammer, and some of my order will meet us there as well, but I fear even that may not be enough. I'm glad we'll have you with us. Take the portal to Dalaran Crater, then fly to Tirisfal Glades and meet us. I've marked the location on your map.
Where to go
Pins are the quest’s own POI points from the current retail client, projected onto the in-game zone map. The game marks one blob as the quest’s turn-in; the rest are objective areas. Points that fall outside a map’s window are dropped rather than guessed at.
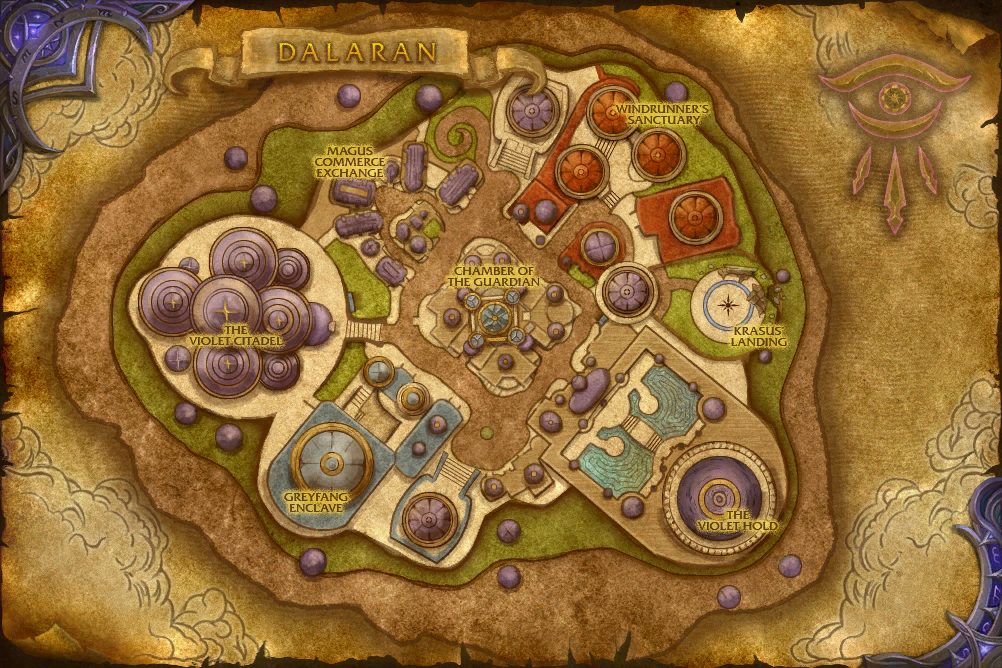 Turn-inTurn-inObjective areaObjective areaObjective area
In-game waypoint: /way #627 61.9 13.6
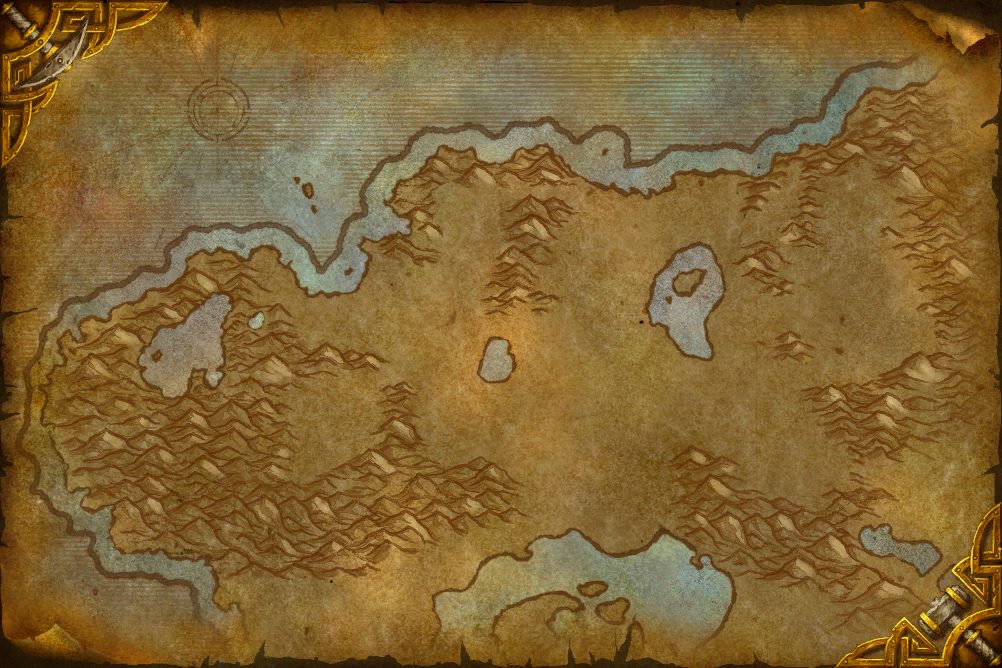 Objective areaObjective areaObjective areaObjective areaObjective areaObjective areaObjective areaObjective areaObjective areaObjective areaObjective areaObjective areaObjective area
In-game waypoint: /way #18 13.8 54.5
Coordinates
- Turn-inDalaran 61.9, 13.6
/way #627 61.9 13.6 - Turn-inDalaran 33.0, 69.9
/way #627 33.0 69.9 - Objective areaDalaran 49.2, 47.7
/way #627 49.2 47.7 - Objective areaDalaran 72.8, 46.1
/way #627 72.8 46.1 - Objective areaDalaran 72.1, 49.3
/way #627 72.1 49.3 - Objective areaTirisfal Glades 13.8, 54.5
/way #18 13.8 54.5 - Objective area (centre of the marked area)Tirisfal Glades 13.0, 55.6
/way #18 13.0 55.6
Map coordinates of the pins above. An area the client draws as a shape is given by the centre of its points.
Nearby on the Light's Hope Chapel map
- Growing Power same spot
- Bolstering Your Arsenal same spot
- Completing Your Arsenal same spot
- Rise, Champions same spot
- Shrine of the Truthguard same spot
- Meeting of the Silver Hand same spot
- The Scion's Legacy same spot
- Champion: Vindicator Boros same spot
- The Codex of Command same spot
- Champion: Justicar Julia Celeste same spot
Quests whose map markers the client places closest to this one on Light's Hope Chapel, nearest first. Distances are straight lines between the markers.
Getting there
Flight points closest to the quest’s turn-in marker on Light's Hope Chapel:
- Light's Hope Chapel, Eastern Plaguelands
- Acherus: The Ebon Hold
From the turn-in, the objective areas lie:
- Objective area
- Objective area
Straight-line distances in yards between the quest’s own map markers (QuestPOI) and the client’s flight-point positions (TaxiNodes); flight paths and terrain are not modelled.
Community notes from Wowhead · 65 comments
Top 3 shown aboveThe comments below were written by Wowhead users. They are community notes, not TheWoWDB comments. See them in context on Wowhead.
The top 3 are shown in Top Comments above. Read all 65 on Wowhead.
Money60 gold66 silver
Experience27,650 XP
Other quests on the Light's Hope Chapel map
Storyline
The Silver Hand
Part 3 of 3.
Previous: The Brother's Trail
- 1The Mysterious Paladin
- 2The Brother's Trail
- 3The Silver Hand
Storyline order is the client’s own QuestLine data from the current retail build.
Where this quest fits
Before this quest
Taken from the storyline's own step order.
- The Brother's Trail
We must reclaim the Silver Hand before those with evil intent can seize it. To free it from its wards, we need relics called the Sparks of Tyr. I have one, as does my brother, Galford. He journeyed to Northrend to seek aid from the Tyr's homeland, but has not returned.
The storyline at a glance
The Silver Hand has 3 steps, from The Mysterious Paladin to The Silver Hand.
Maps its steps are placed on (steps per map): Dalaran (2), Light's Hope Chapel (1).
Other storylines on the Light's Hope Chapel map
- Path of the Light I
- Path of the Light II
- Path of the Light IV
- Path of the Light III
- Weapon of Legend
Steps, storylines and map placement from the client’s QuestLine, prerequisite and QuestPOI data; neighbouring quest text is Blizzard’s own (quest API), shortened to its opening sentences.