 TheWoWDB
I had some troubles with this quest not functioning as expected, or just being unclear, so here's how it should go for anyone struggling:
After arriving in Azsuna...
- Sneak aboard the ship. Avoid land mines and patrolling dogs. Use Bribe on the First Mate.
- Sneak along and around the beach, once again avoiding land mines, dogs, and now sharpshooters. (Also, do not stray too far from the beach. Can reset and send you back to stage 1, which is bad because Bribe will still be on cooldown).
- Attack giant. Gunfire from the ship you captured should kill it for you. (The first time I tried, the gunfire didn't happen, and I died. Maybe try moving around if the bombardment doesn't happen.)
- Move into the underground temple. You will find a room with three casters and an elemental. The elemental is rotating and spraying water. To advance beyond this room, you must kill the three casters. The elemental dies after the third caster.
- The ceiling will now start falling on you. Avoid falling rocks, and either sneak past or kill the two guards in the next room. (I killed them, but I assume you can sneak past them).
- In the final chamber, confront and kill Eliza, then take the Dreadblades.
- Escape the temple, avoiding the falling rocks.
I hope this was helpful. Good luck!
Quest

The Dreadblades
Quest facts and objectives from the current retail game data.
The highest voted Wowhead comments for this page. They are community notes, not TheWoWDB comments.
When I was "done" with this quest I saw a quest-mark to the North and thought "Oh, maybe that's an extra quest? I'll go pick it up"...
Do NOT!
You will have to start the quest over and fight the mobs again due to phasing out.
When you kill the last Boss (again) and it says you can't equip the weapons (because you have them already - and you can't throw the already-equipped weapons out nor abandon the quest) and there's no flying for you outside - do not panic.
Use your Hearthstone to Dalaran and the quest will be completed!
-from a fellow (and a little too curious) rogue.
Video Guide: https://www.youtube.com/watch?v=xu6QbFlgJGE
1. The Dreadblades (Scenario)
• Accept the quest, The Dreadblades, from [npc=102120] at coords 40.7, 69.0 (Aboard the Crimson Veil ship docked at Booty Bay).
• Speak with [npc=102120], when you are ready to set sail for [zone=8000].Stage 1 - Maritime Diplomacy
• After arriving in Dead Man's Bay, activate/maintain your Stealth, and travel northeast toward 60.6, 68.6.
• Watch out for the [npc=102191] mobs, as they can see through your Stealth.
• Board the Horizon's Edge ship, and fight [npc=102185] until he retreats at about 25% health.
- - Avoid standing in the red dashed-lined circles where he places bombs.Stage 2 - Blood and Plunder
• Activate your Stealth and disembark the ship, heading north to 59, 65.
- - Avoid coming into contact with the traps on the ground.
• Continue up the path to 56.7, 66.4.
- - Steer clear of the [npc=102192] as they have a heightened Stealth detection.Stage 3 - Eliza's Gambit
• Defeat [npc=102239] after [npc=102249] finishes speaking.
- - When you hear [npc=102212] launch a cannon strike, kite [npc=102239], into its blast radius, as it will be stunned and take increased damage with [spell=201860].Stage 4 - Into the Depths
• After defeating [npc=102239], proceed southwest to the temple door at coords 56.0, 68.7, and pick the door lock by clicking on the door.
• Enter the chamber below where a [npc=102300] will come up from the pool of water, casting an ability similar to [npc=71543] cast of [spell=143309].
• Follow the Swirl clockwise, around the room and kill the [npc=102298] without being struck by the Swirl.
- - Interrupt [spell=208094] using Kick.
• After killing the third, and final, [npc=102298], the [npc=102300] will despawn.
• Travel to the next room, whose passage is located at coords 55.4, 70.9.
• Stealth around the pair of [npc=102305], and continue downstairs to 54.0, 71.5Stage 5 - Claiming the Prize (Final Stage)
• Defeat [npc=102293].
- - When she begins her cast of [spell=208226], run behind one of the columns to hide.
- - Activate your defensive cool downs when [npc=102293] casts [spell=208245].
• Click on [object=254087], from the ground, to claim your artifact weapon.
• Exit the temple, and click on the [npc=102352] located at coords 56.2, 67.9.
• The [npc=102352], will fly you back to [zone=7502].
• After landing at [zone=7502], travel back to your Order Hall.
- - One of the entrances is located in the Glorious Goods store at 52, 70. Enter the store and show your insignia to [npc=97004].
• Enter the Hidden Corridor and follow it downstairs. Follow the subsequent tunnel to the [zone=8012].
• Turn in the quest to [npc=94159].
Quest facts
Quest ID40849
Check whether you have already completed this quest
in-game: /run print(C_QuestLog.IsQuestFlaggedCompleted(40849))
Requirements
ClassRogue
Read from the Blizzard quest API.
What to do
WhereDalaran, Dalaran, The Cape of Stranglethorn, Azsuna
StorylineThe Dreadblades, step 2 of 2
Rewards60g 66s, 27,650 XP
Description
I can promise ya a safe journey to Eliza's position, but once we're there... well, we both know there be no guarantees. The plan is simple. We'll take the Crimson Veil as close as we can get her without being seen and disembark from there. Once we're ashore, we'll board the Horizon's Edge, bribe her mutinous crew to hand it over, and hunt down Eliza and her legendary blades wherever she may be. Just say the word when yer ready.
Where to go
Pins are the quest’s own POI points from the current retail client, projected onto the in-game zone map. The game marks one blob as the quest’s turn-in; the rest are objective areas. Points that fall outside a map’s window are dropped rather than guessed at.
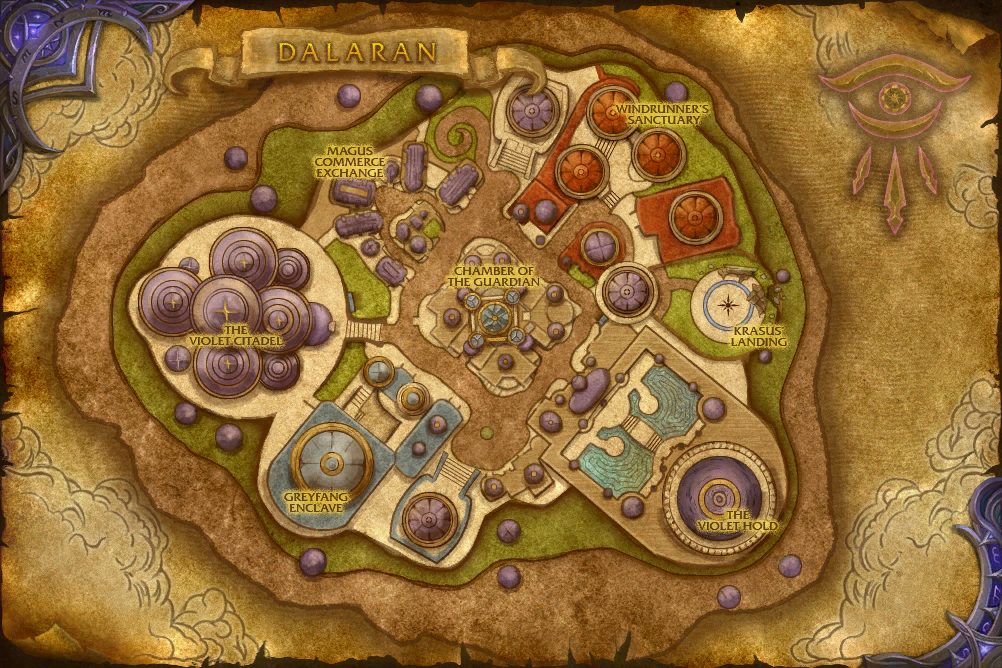 Turn-in
In-game waypoint: /way #627 53.2 69.9
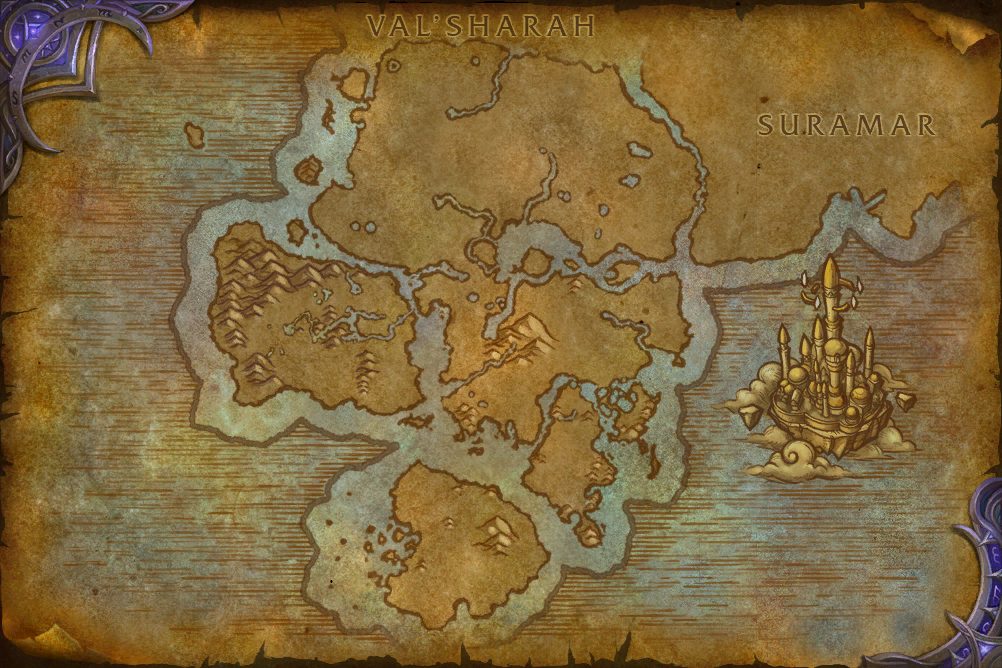 Objective areaObjective areaObjective areaObjective areaObjective areaObjective areaObjective areaObjective areaObjective areaObjective areaObjective areaObjective areaObjective area
In-game waypoint: /way #630 61.4 70.7
Coordinates
- Turn-inDalaran 53.2, 69.9
/way #627 53.2 69.9 - Objective area (centre of the marked area)Azsuna 57.4, 70.0
/way #630 57.4 70.0 - Objective areaAzsuna 56.2, 67.9
/way #630 56.2 67.9
Map coordinates of the pins above. An area the client draws as a shape is given by the centre of its points.
Nearby on the Dalaran map
- Convincin' Old Yancey same spot
- Fancy Lads and Buccaneers same spot
- Champion: Fleet Admiral Tethys same spot
- The Unseen Blade same spot
- Champion: Valeera Sanguinar same spot
- Fangs of the Devourer same spot
- Black Rook Hold: Into Black Rook Hold same spot
- Throwing SI:7 Off the Trail same spot
- The Raven's Eye same spot
- Maw of Souls: Ancient Vrykul Legends same spot
Quests whose map markers the client places closest to this one on Dalaran, nearest first. Distances are straight lines between the markers.
Getting there
Flight points closest to the quest’s turn-in marker on Dalaran:
- Dalaran
- Western Suramar
- Deliverance Point, Broken Shore
From the turn-in, the objective areas lie:
- Objective area
- Objective area
Straight-line distances in yards between the quest’s own map markers (QuestPOI) and the client’s flight-point positions (TaxiNodes); flight paths and terrain are not modelled.
Community notes from Wowhead · 52 comments
Top 3 shown aboveThe comments below were written by Wowhead users. They are community notes, not TheWoWDB comments. See them in context on Wowhead.
The top 3 are shown in Top Comments above. Read all 52 on Wowhead.
Money60 gold66 silver
Experience27,650 XP
Storyline
The Dreadblades
Part 2 of 2.
Previous: A Friendly Accord
- 1A Friendly Accord
- 2The Dreadblades
Storyline order is the client’s own QuestLine data from the current retail build.
Where this quest fits
Before this quest
Taken from the storyline's own step order.
- A Friendly Accord
I'd like to offer ya an accord. The Dread Admiral Eliza wields a pair of cursed blades that have made her the scourge of the south seas. She also stole one of me best ships - the Horizon's Edge - and has it anchored off the shore of Azsuna as we speak.
The storyline at a glance
The Dreadblades has 2 steps, from A Friendly Accord to The Dreadblades.
Maps its steps are placed on (steps per map): The Cape of Stranglethorn (1), Dalaran (1).
Other storylines on the Dalaran map
- Saga of the Shadowblade I
- The Uncrowned
- Saga of the Shadowblade III
- Saga of the Shadowblade IV
- Saga of the Shadowblade II
Steps, storylines and map placement from the client’s QuestLine, prerequisite and QuestPOI data; neighbouring quest text is Blizzard’s own (quest API), shortened to its opening sentences.