 TheWoWDB
Nuggets of Advice From An Actual Idiot Who Made it Through This Scenario Despite of This Disadvantage
So, after failing so hard at this scenario that all my gear had turned red and I was doing nothing more than the magical equivalent of prodding Beliaal with a soft pillow, I had to concede and port out for repairs and existential angst. I read up on the scanario (thank you Onyx1831!), and discovered that I had been a bigger idiot than my usual standard. (Also, if you port out, you start the scenario again at the beginning)
Here are my head-earned pieces of advice:
In general:
1) Remember which class you're playing. This may seem trivial, but I'm sure there are many of us collecting artifacts on different toons like crazed hoarders at a yard sale right now, so just keep your mage-ness in mind. (In my case that meant don't go near the flipping bad guys, you're ranged.
2) Rest and eat when you can. My poor little BE had to work her way through so many [item=113509] you would think I was some sort of demented feeder.
3) Upgrade [spell=176269] as your talent. If, like myself, you didn't think of this beforehand, don't panic and use one of the [item=141446] you got with your Dalaran Hearthstone.
4) Use [spell=176269], [spell=33245], [spell=31596] and whatever defensive capabilities you have until you feel ashamed of yourself. Then use them again.
Specifics:
Stage one
I accidentally triggered [spell=173106] right before running in to face these %^&*!@#s, and whaddaya know, it was pretty effective! You don't need it until Beliaal anyway, so you might make it as painless as possible for yourself.Stage don't-stand-there
Blink and take it slow. No need to go all Jenkins with a half-full healthbar. [spell=191293] hurt, ok?Stage don't-just-stand-there-and-take-is-like-a-penitent-sinner-accepting-the-wrath-of-an-angered-god
When the big, angry elemental starts shooting big orbs at you just @#$%ing move. As a recovering idiot, I didn't the first time and consequently died. A lot. Just move out of the way and they won't follow you.Stage don't die
Normally when you die in these scenarios (I have the experience; trust me) they are quite forgiving and the mobs remain at whatever health you hacked them down to before your demise, but that is not the case with Beliaal. Throw everything and the kitchen sink at him, andifwhen your health is low, remember your defensive capabilities ([spell=176269], [spell=33245] and I found Shieldtronic Shield to be super useful).Stage %^&*!@# staff
Just get under the domes. Shouldn't be a problem.Congratulations, you now have your staff. It's great, but I don't trust it not to betray us at some point, as it has some serious attitude.
Good luck!
Quest

The Nexus Vault
Quest facts and objectives from the current retail game data.
The highest voted Wowhead comments for this page. They are community notes, not TheWoWDB comments.
Video Guide: https://www.youtube.com/watch?v=ZK1nixB4NMc
1. The Nexus Vault (Scenario)
• Use [item=136410], in your inventory to summon the [npc=105917] while standing in the Coldarra, Borean Tundra.
• Accept the quest, The Nexus Vault, from the [npc=105917].
• Travel to [zone=4265] instance portal located at 27.5, 26.0 (lowest level).
• Before starting the encounter, it is helpful to be speced into [spell=108839] for the level 75 talent.Stage 1 - The Azure Prisoner
• Travel north to 36.3, 81.7.
• Defeat the [npc=106705] mobs.
• Continue on to 36.3, 74.9.
• Defeat the [npc=106700].
- - Use [spell=30449] when it applies the [spell=227731] buff on itself.
- - Interrupt [spell=209854].
• After [npc=106700] is killed, [npc=106701] will attack you.
- - Use [spell=30449] when it applies the [spell=227731] buff on itself.
- - Interrupt [spell=209846].
• After [npc=106701] is killed, [npc=106702] will attack you.
- - Use [spell=30449] when it applies the [spell=227731] buff on itself.
- - Interrupt [spell=209315].Stage 2 - Seeking Answers
• After the [npc=106702] is dead, listen to [npc=106699] speak before he transforms into human-form.
• Escort [npc=106747] west to 23.4, 67.5, defeating any mobs you come across.
• Continue northeast, into and through the Hall of Stasis to 22.2, 43.4.
- - Avoid the spots of unstable energy on the ground by walking around, and/or using Blink or [spell=212653].
• Travel northeast, to the Librarium, at coords 27.6, 36.7.Stage 3 - Echoes of Ancient Power
• Defeat the [npc=106706] located at 27.6, 39.9 (center of the Librarium).
- - Interrupt [spell=209315].
- - Use [spell=30449] when it applies the [spell=216908] buff on itself.
- - When you steal [spell=216908], cast [spell=12042] and [spell=162128] to burn through its health.Stage 4 - The Way Out is Through
• Travel northeast to 31.2, 22.1, defeating the [npc=106710] and the [npc=106711] who stand in your way.Stage 5 - Consumed by Void
• Hitch a ride on [npc=104546] to the other side of the rift.
• As you are crossing the rift, [npc=106712] will transform into a void Ethereum.
• After being dropped off at 57, 21, defeat [npc=106708].
- - When he casts [spell=209863] (lasts 15 seconds), continue moving toward the center of the platform, otherwise you will be pushed off. Casting [spell=108839], and continuing to DPS during this stage can be helpful.
- - Interrupt [spell=209874].Stage 6 - Breaking and Binding
• After [npc=106708] dies, [npc=104546] will land and open a portal to the Nexus Vault.
• Click the [object=248553].
- - Enter [spell=225028] located in the Nexus Vault and click on the [spell=225026] (Extra Action button).
• After [spell=225026] at all three locations, Aluneth's shield will deactivate.Stage 7 - The Power of Aegwyn (Final Stage)
• Proceed to the center of the platform and click on [object=249814], to claim your artifact.
• Click on the [object=248574].
• [npc=104910] will open a portal back to [zone=7502], click it to be transported back to [zone=7502].
• Once in [zone=7502], travel west to the Violet Citadel, located at 32, 49.
• Go inside, and turn in the quest to [npc=105081].
For anybody looking for the Scenario, it's the dungeon entrance at the very bottom of the Nexus.It wasn't obvious to me.
Quest facts
Check whether you have already completed this quest
in-game: /run print(C_QuestLog.IsQuestFlaggedCompleted(42011))
Requirements
Read from the Blizzard quest API.
What to do
Description
If the Ethereum managed to capture Azuregos, then they are more powerful than I imagined. We have not always seen eye to eye, Azuregos and I, but he is still my kin. Since you seek to put an end to the ethereals and claim Aluneth, I ask that you also free my brother from their grip. With the Surge Needles destroyed, the shield has dissipated. The Nexus awaits, {name}.
Where to go
Pins are the quest’s own POI points from the current retail client, projected onto the in-game zone map. The game marks one blob as the quest’s turn-in; the rest are objective areas. Points that fall outside a map’s window are dropped rather than guessed at.
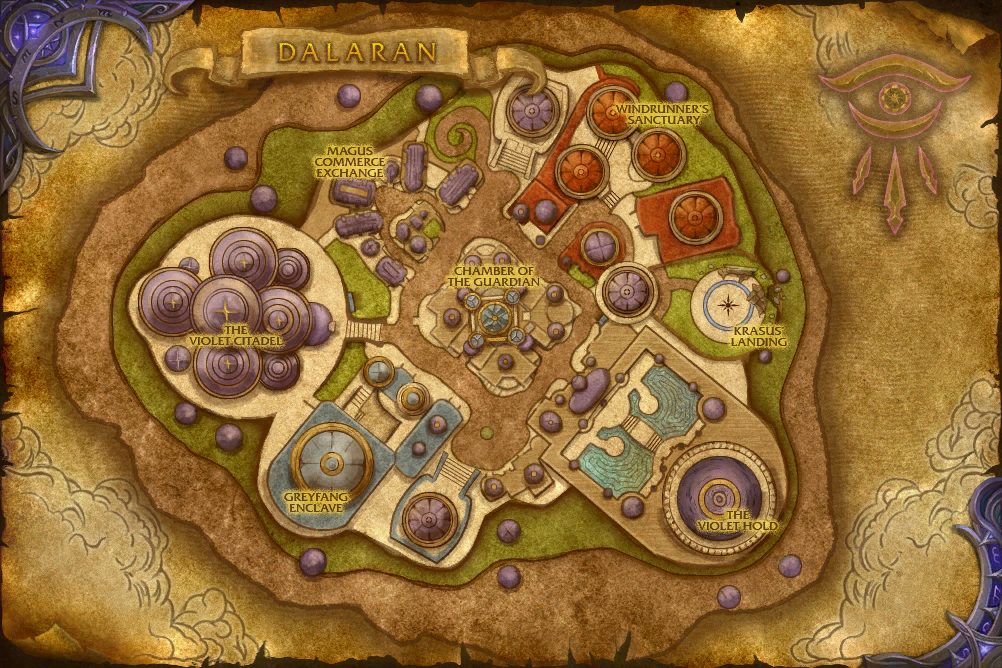 Turn-inObjective area
In-game waypoint: /way #627 28.5 50.1
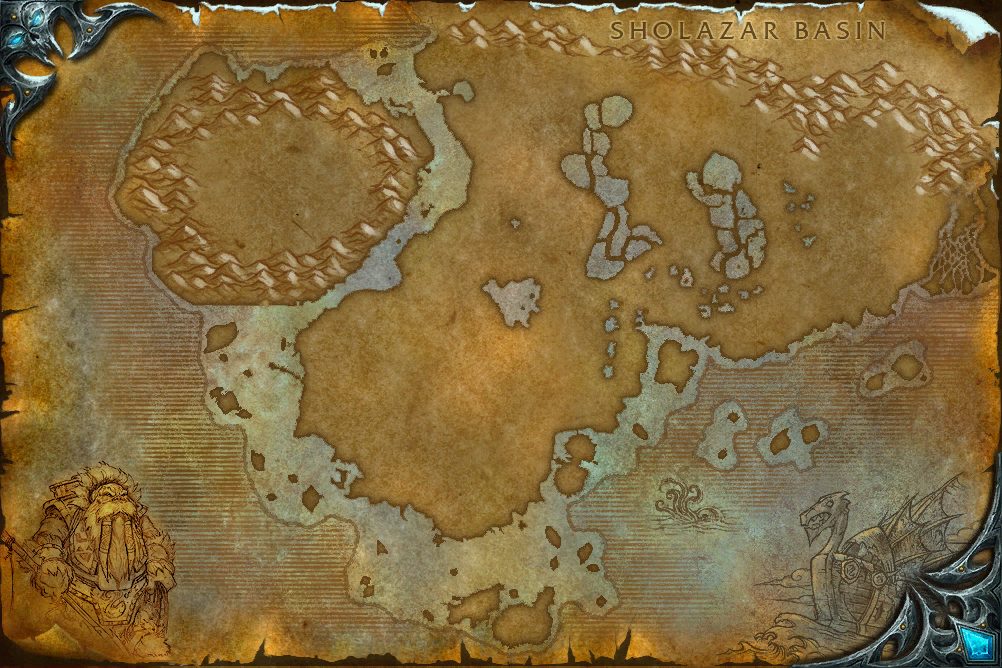 Objective area
In-game waypoint: /way #114 27.5 26.1
Coordinates
- Turn-inDalaran 28.5, 50.1
/way #627 28.5 50.1 - Objective areaDalaran 28.7, 50.1
/way #627 28.7 50.1 - Objective areaBorean Tundra 27.5, 26.1
/way #114 27.5 26.1
Map coordinates of the pins above. An area the client draws as a shape is given by the centre of its points.
Nearby on the Dalaran map
- The Light's Wrath same spot
- The Nexus Vault same spot
- A Portal Away same spot
- The Frozen Flame same spot
- Elemental: The Folly of Levia Laurence same spot
- Fel-Crossed Lovers same spot
- A Triumphant Report same spot
- A Gift From the Six same spot
- Dark Omens same spot
- The Matter Resolved... For Now... same spot
Quests whose map markers the client places closest to this one on Dalaran, nearest first. Distances are straight lines between the markers.
Getting there
Flight points closest to the quest’s turn-in marker on Dalaran:
- Dalaran
- Western Suramar
- Shackle's Den, Azsuna
Straight-line distances in yards between the quest’s own map markers (QuestPOI) and the client’s flight-point positions (TaxiNodes); flight paths and terrain are not modelled.
Community notes from Wowhead · 70 comments
Top 3 shown aboveThe comments below were written by Wowhead users. They are community notes, not TheWoWDB comments. See them in context on Wowhead.
The top 3 are shown in Top Comments above. Read all 70 on Wowhead.
Storyline
Aluneth, Greatstaff of the Magna
Part 7 of 7.
Previous: Arcane Unleashed
- 1Aluneth, Greatstaff of the Magna
- 2A New Threat
- 3A Forgotten Enemy
- 4Eyes of the Dragon
- 5Harnessing the Arcane
- 6Arcane Unleashed
- 7The Nexus Vault
Storyline order is the client’s own QuestLine data from the current retail build.
Where this quest fits
Before this quest
Taken from the storyline's own step order.
- Arcane Unleashed
You have the power you need to destroy the Surge Needles. At the location of the breaches where the Surge Needles pierce the ground, there will be a large concentration of void energy. Focus the power of Aluneth into these points.
Other quests with this name
This one: Mage · Level 10-45.
The storyline at a glance
Aluneth, Greatstaff of the Magna has 7 steps, from Aluneth, Greatstaff of the Magna to The Nexus Vault.
Maps its steps are placed on (steps per map): Borean Tundra (3), Dalaran (2), Dragonblight (2).
Other storylines on the Dalaran map
- Legion Alchemy
- Legion Tailoring
- Legion Leatherworking
- Legion Inscription
- Legion Blacksmithing
- Legion Engineering
Steps, storylines and map placement from the client’s QuestLine, prerequisite and QuestPOI data; neighbouring quest text is Blizzard’s own (quest API), shortened to its opening sentences.