 TheWoWDB
The quest area is in the west of Azuna very close to the Illidari Perch flight-point. walk in to the edge of the marked quest area and apply the bait, shortly after the felhound fledgling will spawn (no need to wander about) and attack you.
Once the mob's hit points have been suitably reduced a special action button will appear above your action bar that will allow you to trap the mob (I found this was not made clear by the quest and was hunting in my bag/quest log for a trap item).
Be carful to not let your pet overkill the quest mob, and keep an eye on your pet's hit points as the mob has a significant damage buff.
Quest

To Tame the Beast
A World of Warcraft quest in Azsuna. Facts and objectives from the current retail game data.
The highest voted Wowhead comments for this page. They are community notes, not TheWoWDB comments.
Just fly/walk to the flightmaster. Then simply walk about ten steps down the path and apply the wormguts. There's a couple of mobs/dogs but not close enough to aggro you if you stay at the base of the path. No going into any caves or wandering away from the flightmaster.
These comments are all terrible. The thing that's distracting is there is glowing meat the Manastalkers are eating in the same area that causes confusion. DO NOT CLICK THE GLOWING MEAT.
Instead, use [item=138253] in your inventory in the cave just below the flight point as people pointed out. Attack [npc=108242] when he spawns and comes to you until about 20% and [spell=216962] should appear on your special action bar. Just click it. This is a screenshot of the button and me trapping the mob.
http://i.imgur.com/0riaPWX.jpg
Quest facts
Quest ID42406
Check whether you have already completed this quest
in-game: /run print(C_QuestLog.IsQuestFlaggedCompleted(42406))
Requirements
ClassHunter
Read from the Blizzard quest API.
Description
Deep in the heart of Faronaar are dens that are overrun with felhounds. If Hakkar is breeding those beasts, that is the place he would do it. The bait I've crafted is potent. Once you apply it, you'll draw the attention of nearby hounds, so only use it when you're close to the dens. Once the demon has taken the bait, get it into a weakened state to make trapping easier. Good luck, {name}. I hope you return in one piece.
Where to go
Pins are the quest’s own POI points from the current retail client, projected onto the in-game zone map. The game marks one blob as the quest’s turn-in; the rest are objective areas. Points that fall outside a map’s window are dropped rather than guessed at.
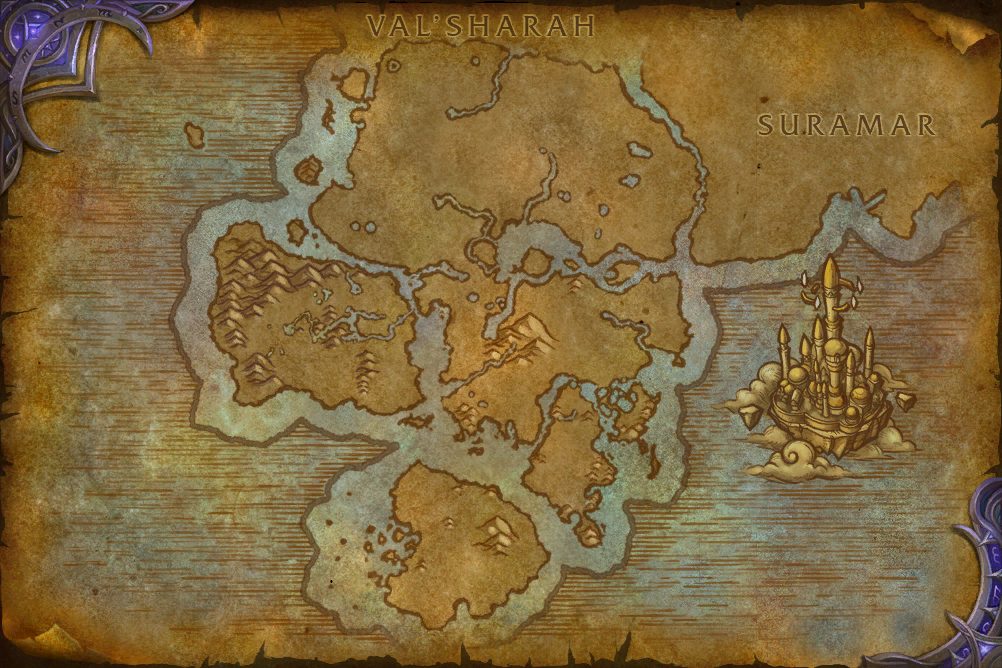 Turn-inObjective areaObjective areaObjective areaObjective areaObjective areaObjective areaObjective area
In-game waypoint: /way #630 60.8 30.6
Coordinates
- Turn-inAzsuna 60.8, 30.6
/way #630 60.8 30.6 - Objective area (centre of the marked area)Azsuna 30.5, 47.5
/way #630 30.5 47.5 - Objective areaAzsuna 31.7, 47.0
/way #630 31.7 47.0
Map coordinates of the pins above. An area the client draws as a shape is given by the centre of its points.
Nearby on the Azsuna map
- Testing a Theory same spot
- Bloodstone Bandit same spot
- It Hungers for Blood same spot
- An Unlikely Ally same spot
- Consult the Locals about 180 yards
- Runic Catgut about 180 yards
- Hard Times about 180 yards
- So You Think You Can Sew about 180 yards
- Turnabout Betrayal about 200 yards
- Crossroads Rendezvous about 200 yards
Quests whose map markers the client places closest to this one on Azsuna, nearest first. Distances are straight lines between the markers.
Getting there
Flight points closest to the quest’s turn-in marker on Azsuna:
- Felblaze Ingress, Azsuna
- Azurewing Repose, Azsuna
- Illidari Stand, Azsuna
From the turn-in, the objective areas lie:
- Objective area
- Objective area
Straight-line distances in yards between the quest’s own map markers (QuestPOI) and the client’s flight-point positions (TaxiNodes); flight paths and terrain are not modelled.
Community notes from Wowhead · 82 comments
Top 3 shown aboveThe comments below were written by Wowhead users. They are community notes, not TheWoWDB comments. See them in context on Wowhead.
The top 3 are shown in Top Comments above. Read all 82 on Wowhead.
Money20 gold22 silver
Experience6,150 XP
Storyline
Watchers in the Wild II
Part 19 of 20.
Previous: Leyworm Lure · Next: The Nature of the Beast
- 9Champion: Hemet Nesingwary
- 10Baron and the Huntsman
- 11Awakening the Senses
- 12Champion: Huntsman Blake
- 13Ready to Work
- 14Missing Mages
- 15The Scent of Magic
- 16Assisting the Archmage
- 17Knowing Our Enemy
- 18Leyworm Lure
- 19To Tame the Beast
- 20The Nature of the Beast
Showing steps 9 to 20 of 20.
Storyline order is the client’s own QuestLine data from the current retail build.
Where this quest fits
Before this quest
Taken from the storyline's own step order.
- Leyworm Lure
Felhounds are attracted to magic, young ones especially. They get a whiff and go into a feeding frenzy! You're not quite as enticing as a mage, so you'll need to cover yourself in something that can fool a felhound into thinking you're its next magical meal. Leyworm entrails should do the trick.
After this quest
Taken from the storyline's own step order.
- The Nature of the Beast
By nature, this demon is immune to magic, but it has also been bred to be resistant to physical attacks. It's covered in scales unlike anything I've ever seen; layered and thick. I doubt that most metals will be able to pierce the demon's armor-like hide.
The storyline at a glance
Watchers in the Wild II has 20 steps, from Unseen Protection to The Nature of the Beast.
Maps its steps are placed on (steps per map): Trueshot Lodge (9), Highmountain (3), Stormheim (3), Azsuna (3).
Steps of this storyline count toward:
Other storylines on the Azsuna map
- Defending Azurewing Repose
- Azsuna versus Azshara
- Legion Inscription
- Legion Enchanting
- Behind Legion Lines
- Balance of Power
Steps, storylines and map placement from the client’s QuestLine, prerequisite and QuestPOI data; neighbouring quest text is Blizzard’s own (quest API), shortened to its opening sentences.