 TheWoWDB
On my alts, I accepted the popup quest The Land Beneath, picked up Aiding the Accord: Sniffenseeking and flew straight to [npc=201426] at /way Zaralek Cavern:Dragon Isles 55.64 57.47.
He had one map available and I was able to complete the "Dig completed with Myrrit" part. There's no need to do any extra quests or purchases to complete this.
- Brand New Digs: In the cave with the box with a red glow & green cloud, sniff out [item=204867] next to the box, dig below the green cloud and put [npc=201426] on the pressure plate to remove the red barrier from the box. Jump down and open the Treasure Chest.
- Flapping and Screaming: In the cave with the crystals. Pick up the [object=402580]. Use [spell=411283] to capture a [npc=205417]. Stand close to a crystal so the captured bat can shatter it. Repeat until you find the [item=205969] (mine was at 54.99, 48.94). Unlock the [object=402595].
- Element Whispers: Go right and use [npc=201426] to dig up cracked tablets in front of each pilar. On each tablet you'll find a cardinal direction and an element mentioned. Go back and now take the left path. West(left) of the [npc=204800]: Choose earth, North(behind) of the [npc=204800]: Choose fire, East(right) of the [npc=204800]: Choose air, South(in front of) of the [npc=204800]: Choose water. Talk to [npc=204800]: "Can you check to see if my pattern is right?". Kill [npc=204800]. Loot [item=205689], jump down and unlock [object=401296].
- Those Rascally Worms: Talk to [npc=204587] to make a deal. Use [npc=201426] to dig up [npc=203850] ("Phew, that's worm-stink!") and [object=398116] ("I smell something un-wormlike") to collect 6 [item=202180]. Talk to [npc=205267] to feed it. Click on the basket [npc=205267] was on to collect [object=401242].
- Sneak and Sniff: In the cave with bats & worms you just need to go pick up the [item=205412]. I'm not sure if something I did made it spawn, but it was certainly easy to miss. No need to kill the bats nor worms to my knowledge.
- Thieving Critters: Go to the room with the [object=400987]. [spell=400132] at the entrance of the left path. Wait until the orange cloud moves over you and [spell=400143] up [npc=204432]. Kill it to receive the first key. Follow the right path and destroy [npc=204439] to spawn [npc=204435]. Kill it to get the second key. Use the [item=205185] and [item=205186] to unlock [object=400987].
- Living Statue: Kill both [npc=201871]. Pick up the Light Etched Key and restore it by putting it on the Etched Receiver with the small orb on it. The other 3 keys can be found by sniffing & digging below stone piles around the cave. Once the 4 keys are restored, click the statue and kill [npc=204419]. Use the [item=205938] to open the [object=402532].
- Liars in Light: Stand on the pressure plate next to the Tauren Statue. Talk to the Tauren Statue and select "Choose this statue as telling the truth." Kill the [npc=204430] and loot the [item=205202]. Use it to open the [object=402216].
- Liars of Spirit: [spell=400130] on the pressure plate. Talk to the Regal Statue and select "Choose this statue as telling the truth.". Kill [npc=205540] and loot the [item=205990]. Use it to open the [object=402437].
- Vertical Anomaly: Kill the adds. Use [spell=400132] and [spell=400143] to destroy [npc=205559] and [npc=205563]. [spell=400130] on the pressure plate. Enter the central bubble to swim to the moving bubble to swim to the bubble containing the [object=397993]. Loot the [object=397993] and use the [item=203655] to open the [object=401295].
- Scratch and Sniff: [spell=400131] until [npc=201426] says: "I smell something briny over here..." (Mine was at 54.58, 51.25). [spell=400132] and [spell=400143]. Kill and loot [npc=201747]. Use the [item=205277] to open the [object=401310].
- Successful Interventions: Drink the [object=402597] on the table. Talk to [npc=205080]. "Ask about Ralph." to [npc=205088] until you find the one that says "I'm Ralph. Either ye believe me, or ye don't." Then "Point out that this is Ralph to Mr. Sunflower.". Loot [object=402149] from the table in the corner.
- Your Weight in Gold: In the cave with gold and pressure plates, sniff out [npc=205330] and let him use [spell=411045] while you're on a pressure plate to put [npc=205334] on the plate (be sure to move away once the golden pool is showing on the plate). I think you only need 3 pressure plates pressed. You can put [npc=201426] on one, stand yourself on another and use aforementioned technique for the third. (I used the technique on 3 plates when I noticed the door was already open).
- The Living Drill: Use [spell=400132] and [spell=400143] below an orange cloud to spawn and kill [npc=205613] 3 times. Kill [npc=204434] to loot [item=205941]. Use [spell=400131] close to the pool to [spell=400143] up the [object=402534] ([npc=201426] should say "I smell something un-wormlike"). Loot.
- Making Scents: DPS [npc=203606] until it's immune. Use Smell and read the text. Click the orb matching the message ("Is that burned charcoal I smell" = fire, "why did that orb start smelling like worms?" = earth, "Oh wow, it smells just like lightning! = air"). DPS [npc=203606] until dead. Loot.
- Heart of Iron: Kill [npc=204426] to get the [item=205939]. Use [spell=400131] to find "Wait! There's LESS burning smell here!". Use [spell=400132] and [spell=400143] to dig up [object=402533]. [spell=400130] and open [object=402533].
- Frostfire Finesse: In the cave with the Fire Charge and the Frost Charge, click the Fire charge and put [npc=201426] on the Pressure plate of the Frost Charge to pick up the [item=206001]. If needed click the Neutralizing Charge to remove any remaining [spell=411698]. After that click the Frost Charge and and put [npc=201426] on the Pressure plate of the Fire Charge to pick up the [item=206002]. Once that's done, use [spell=411729] to combine the keys to the [item=206000] and open the Frostfire Cache.
Quest

Aiding the Accord: Sniffenseeking
A World of Warcraft quest in Valdrakken. Facts and objectives from the current retail game data.
The highest voted Wowhead comments for this page. They are community notes, not TheWoWDB comments.
I get to the cave, it has a locked treasure chest. I sniffed and found the "Metal key" but when I use it on the chest, I get the text "you can't do that yet" - sniffed all over the room, nothing else, tried tunneling under the chest, no luck, tried dropping the quest several times...
Drop Merrit on the metal circle on the ground. In doing so, a bubble above the dirt pile with bubbles/water will appear with a chest containing the key. Get in the bubble in the center where the locked chest is - swim and position yourself towards the direction of the bubble containing the key. Make sure to stay within the bubble still. Time for the other bubble that goes around the room so it aligns to the top most bubble where the key is located so you can "swim" across to get the key. Hope this makes sense.
Quest facts
LevelLevel 10-80
ZoneValdrakken
LocationValdrakken, Thaldraszus, Zaralek Cavern
SideBoth
SharableNo
Added inDragonflight
Quest ID75859
Check whether you have already completed this quest
in-game: /run print(C_QuestLog.IsQuestFlaggedCompleted(75859))
Requirements
RepeatsWeekly
Read from the Blizzard quest API.
What to do
WhereValdrakken, Thaldraszus, Zaralek Cavern
StorylineDragon Isles Emissary, step 9 of 20
RewardsValdrakken Treasures, 14,300 XP
Valdrakken Treasures, 14,300 XPDescription
Our allies once again seek your assistance as our efforts continue across the Isles. Words within the walls of Valdrakken whisper a resounding comfort knowing your efforts have helped shape our future. Now then, to business. Our niffen allies in Zaralek Cavern are always on the lookout for something new and exciting--or smelly. Join them on a dig through the many lost and forgotten caverns in their domain, and see what you find. We await your return, {name}.
Where to go
Pins are the quest’s own POI points from the current retail client, projected onto the in-game zone map. The game marks one blob as the quest’s turn-in; the rest are objective areas. Points that fall outside a map’s window are dropped rather than guessed at.
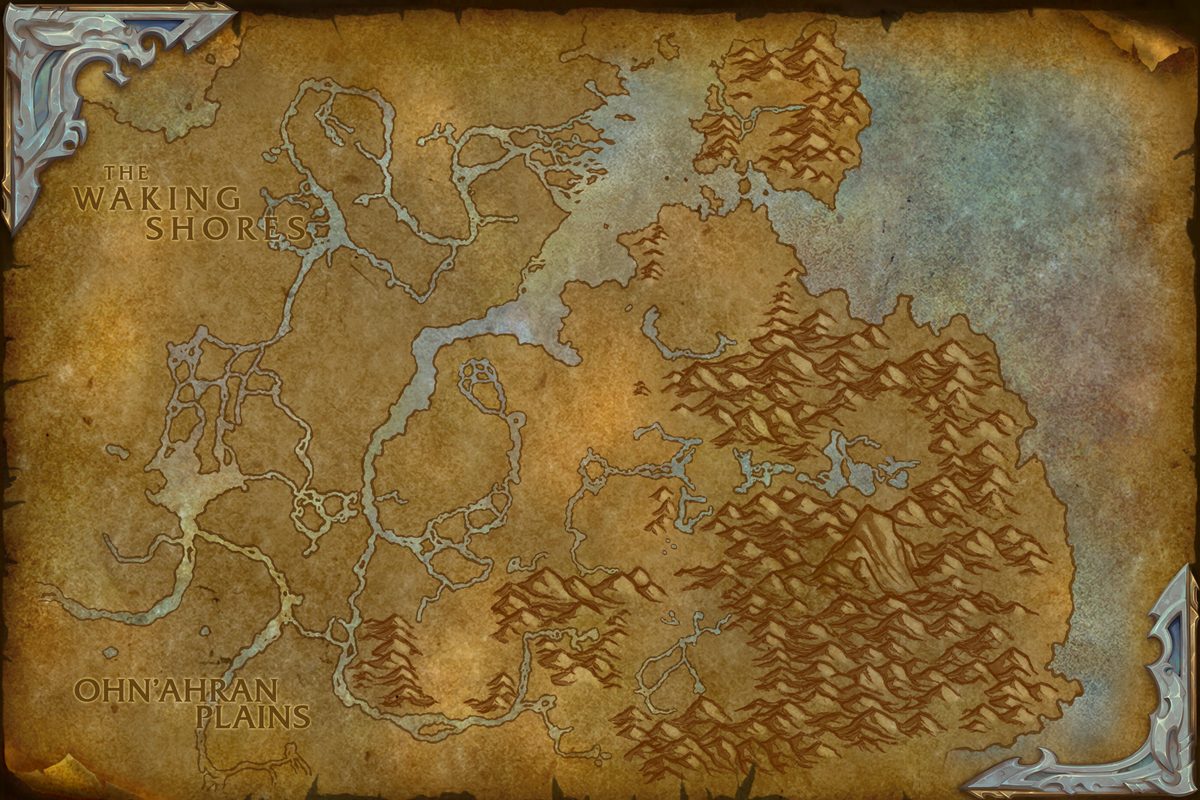 Turn-in
In-game waypoint: /way #2025 40.0 60.8
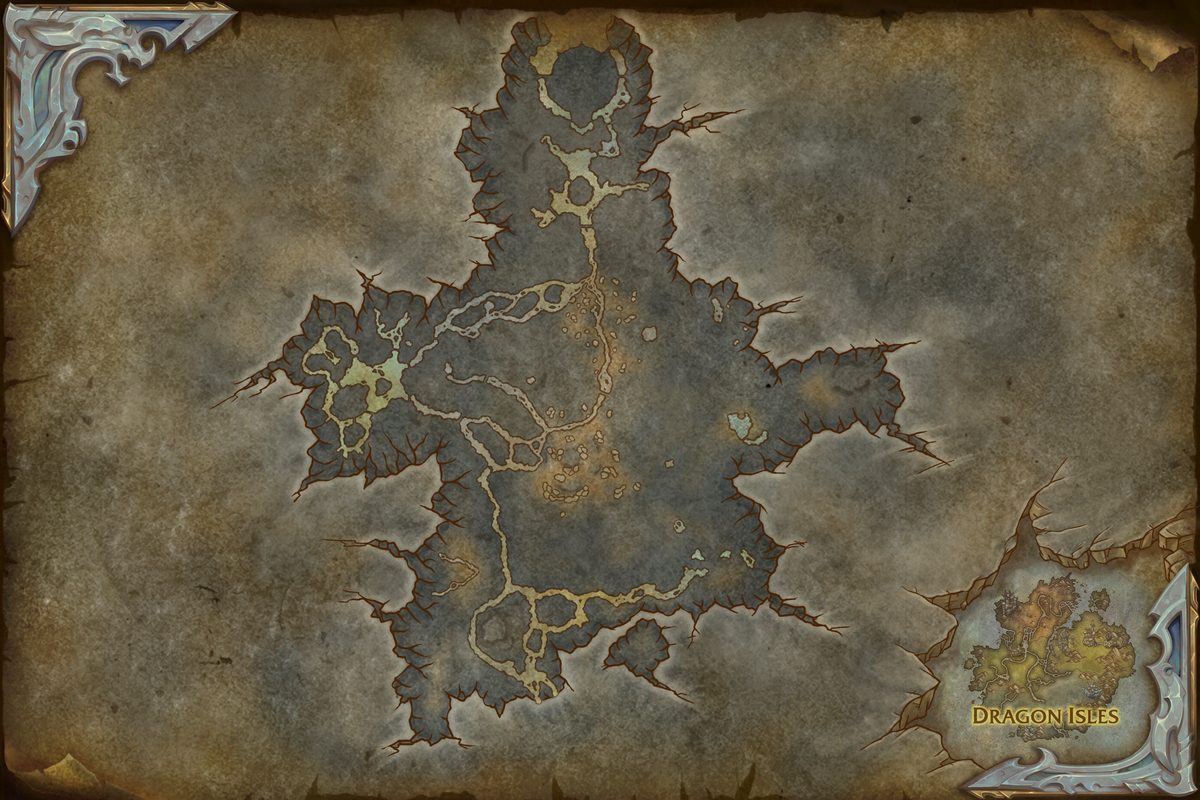 Objective area
In-game waypoint: /way #2133 55.6 57.5
Coordinates
- Turn-inThaldraszus 40.0, 60.8
/way #2025 40.0 60.8 - Objective areaZaralek Cavern 55.6, 57.5
/way #2133 55.6 57.5
Map coordinates of the pins above. An area the client draws as a shape is given by the centre of its points.
Nearby on the Valdrakken map
- Raise the Alarm
- Aberrus, the Shadowed Crucible: Sarkareth
- Honor the Flame
- News From Beneath
- Symbol of Hope
- Fashion Week
- Reconcilable Dissidents
- In the Wake of the Ashes
- On New Wings
- A Legacy, Reforged
Other quests whose map markers the client places on Valdrakken.
Getting there
Flight points closest to the quest’s turn-in marker on Valdrakken:
- Valdrakken, Thaldraszus
- Gelikyr Post, Thaldraszus
- Timberstep Outpost, Ohn'ahran Plains
Straight-line distances in yards between the quest’s own map markers (QuestPOI) and the client’s flight-point positions (TaxiNodes); flight paths and terrain are not modelled.
Community notes from Wowhead · 34 comments
Top 3 shown aboveThe comments below were written by Wowhead users. They are community notes, not TheWoWDB comments. See them in context on Wowhead.
The top 3 are shown in Top Comments above. Read all 34 on Wowhead.
Experience14,300 XP
Reward details
Items you receive
TypeConsumable
Item level1
BindingBinds when picked up
Requires level60
“Contains equipment, supplies, and treasures gathered throughout the ages.”
Item facts are the current retail client’s (ItemSparse); the specialisations for a pick-one item are the ones the Blizzard quest API lists; faction and currency text is the client’s own. Lowest listed price = the US commodity auction house now.
Storyline
Dragon Isles Emissary
Part 9 of 20.
Previous: Aiding the Accord: Zskera Vaults · Next: Aiding the Accord: Researchers Under Fire
- 4Aiding the Accord: A Feast For All
- 5Aiding the Accord: The Hunt is On
- 6Aiding the Accord: Dragonbane Keep
- 7Aiding the Accord: The Isles Call
- 8Aiding the Accord: Zskera Vaults
- 9Aiding the Accord: Sniffenseeking
- 10Aiding the Accord: Researchers Under Fire
- 11Aiding the Accord: Suffusion Camp
- 12Aiding the Accord: Time Rift
- 13Aiding the Accord: Dreamsurge
- 14Aiding the Accord: Superbloom
- 15Aiding the Accord: Emerald Bounty
Showing steps 4 to 15 of 20.
Storyline order is the client’s own QuestLine data from the current retail build.
Where this quest fits
Before this quest
Taken from the storyline's own step order.
- Aiding the Accord: Zskera Vaults
Our allies once again seek your assistance as our efforts continue across the Isles. Words within the walls of Valdrakken whisper a resounding comfort knowing your efforts have helped shape our future. Now then, to business.
After this quest
Taken from the storyline's own step order.
- Aiding the Accord: Researchers Under Fire
Our allies once again seek your assistance as our efforts continue across the Isles. Words within the walls of Valdrakken whisper a resounding comfort knowing your efforts have helped shape our future. Now then, to business.
Other weekly quests in Valdrakken
- Aiding the Accord
- Aiding the Accord: A Feast For All
- Aiding the Accord: The Hunt is On
- Aiding the Accord: Dragonbane Keep
- Aiding the Accord: The Isles Call
- Aiding the Accord: Zskera Vaults
- Aiding the Accord: Researchers Under Fire
- Aiding the Accord: Suffusion Camp
The storyline at a glance
Dragon Isles Emissary has 20 steps, from Renown of the Dragon Isles to Last Hurrah.
Maps its steps are placed on (steps per map): Thaldraszus (16), Valdrakken (2).
Other storylines on the Thaldraszus map
- Thaldraszus
- Time Management
- Azerothian Archives
- Valdrakken, City of Dragons
- Rebel Resurgence
- The Blue Dragons
Steps, storylines and map placement from the client’s QuestLine, prerequisite and QuestPOI data; neighbouring quest text is Blizzard’s own (quest API), shortened to its opening sentences.