 TheWoWDB
If you are getting a "You don't meet the requirements for this quest", it's possible to mine this from a mob without having the actual Legion Mining skill. You get Legion Mining the first time you mine from a deposit.
Quest

Living Leystone Sample
Quest facts and objectives from the current retail game data.
The highest voted Wowhead comments for this page. They are community notes, not TheWoWDB comments.
Exit Thunder Totem to the north, run to about 53, 53 and kill Enraged Embershards. Remember to mine them (right click) after looting them - I got mine on the third kill. Enjoy!
This is one of three leystone sample quests that can be turned in to Mama Diggs. The other two are Leystone Deposit Sample and Leystone Seam Sample. Once all three leystone samples have been turned in, Mama Diggs will provide The Highmountain Tauren.
The felslate sample counterpart is Living Felslate Sample. Likewise, there are also sample quests for felslate deposits and felslate seams (Felslate Deposit Sample and Felslate Seam Sample). Once all three felslate samples have been turned in, Mama Diggs will provide The Felsmiths.
Quest facts
Quest ID38785
Check whether you have already completed this quest
in-game: /run print(C_QuestLog.IsQuestFlaggedCompleted(38785))
Description
This is no normal leystone. It is much livelier, shimmering in complex, enthralling patterns. It is easy to stare at. Your trainer in Dalaran would certainly like to have a look at this.
Where to go
Pins are the quest’s own POI points from the current retail client, projected onto the in-game zone map. The game marks one blob as the quest’s turn-in; the rest are objective areas. Points that fall outside a map’s window are dropped rather than guessed at.
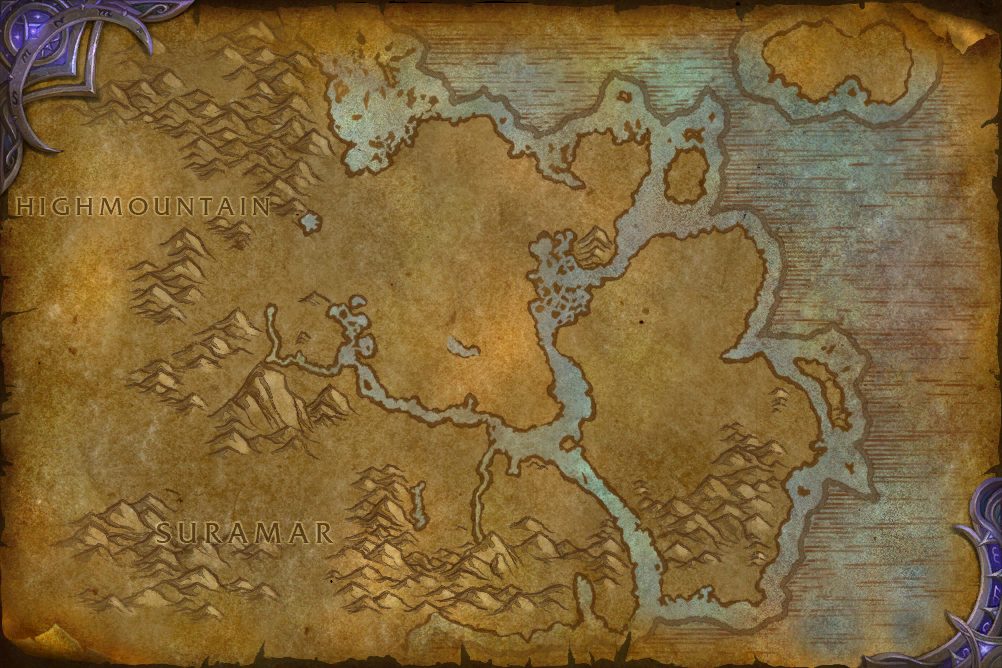 Objective areaObjective areaObjective areaObjective areaObjective areaObjective areaObjective areaObjective areaObjective areaObjective areaObjective areaObjective areaObjective areaObjective areaObjective areaObjective areaObjective areaObjective areaObjective areaObjective areaObjective areaObjective areaObjective areaObjective areaObjective areaObjective areaObjective areaObjective areaObjective area
In-game waypoint: /way #634 58.1 90.5
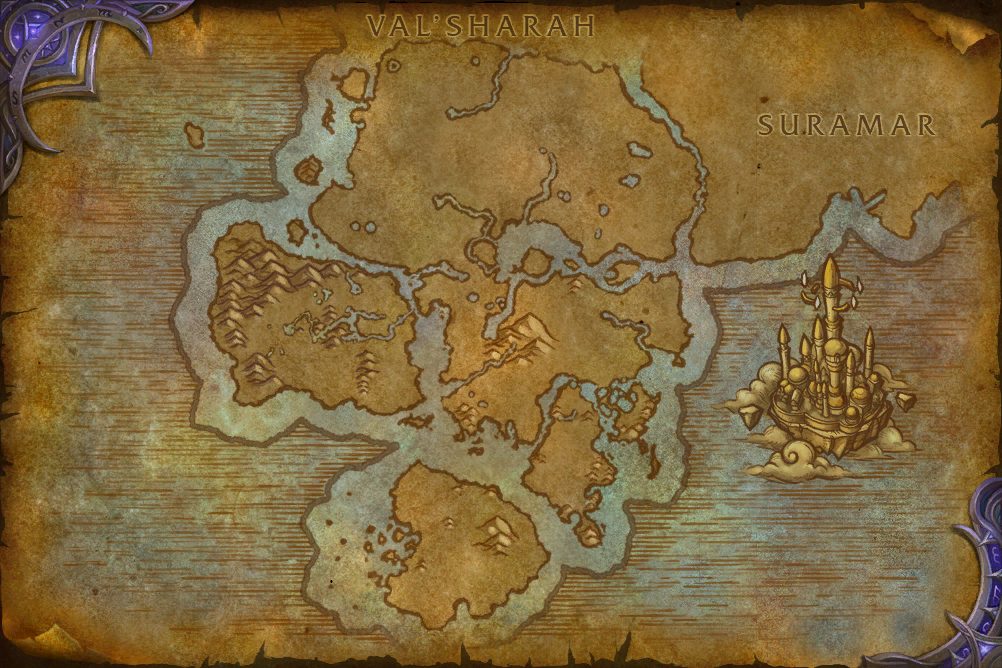 Objective areaObjective areaObjective areaObjective areaObjective areaObjective areaObjective areaObjective areaObjective areaObjective areaObjective areaObjective areaObjective areaObjective areaObjective areaObjective areaObjective areaObjective areaObjective areaObjective areaObjective areaObjective areaObjective areaObjective areaObjective areaObjective areaObjective areaObjective areaObjective area
In-game waypoint: /way #630 58.1 36.4
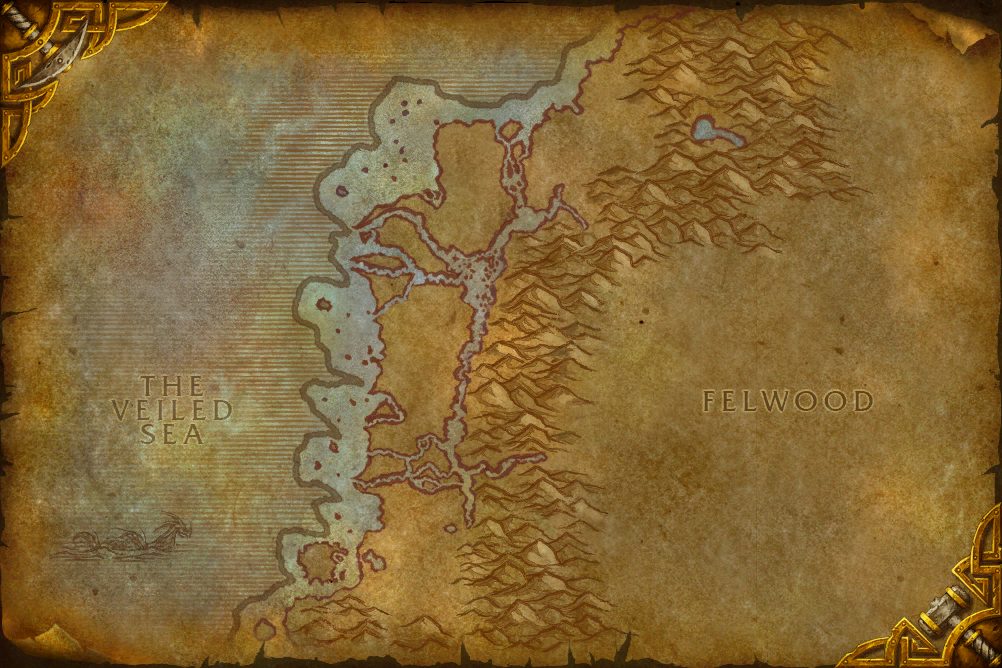 Objective areaObjective areaObjective areaObjective areaObjective areaObjective areaObjective areaObjective area
In-game waypoint: /way #62 33.0 86.5
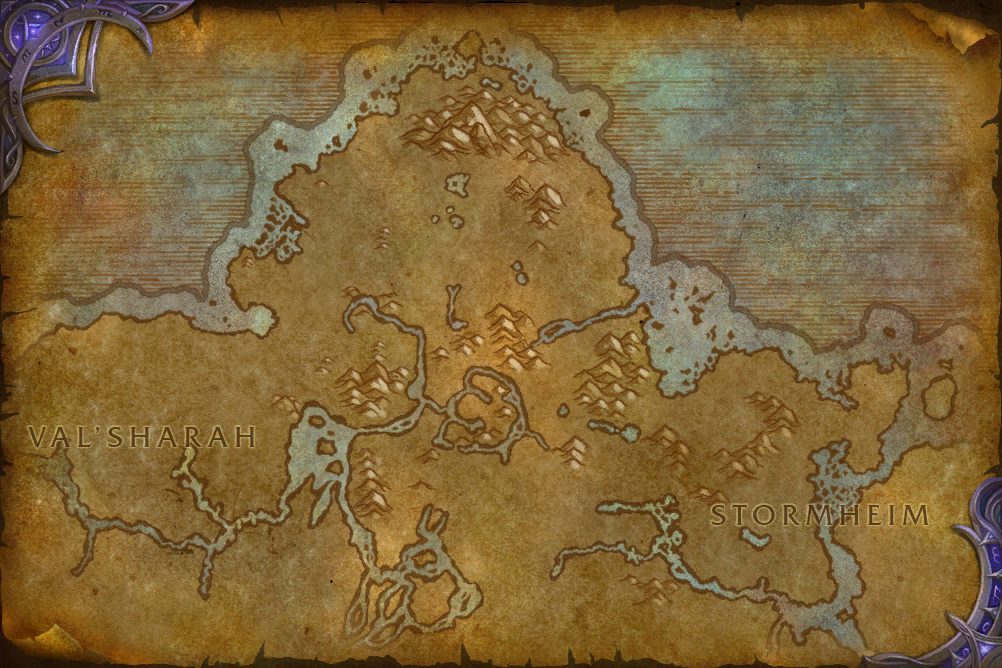 Objective areaObjective areaObjective areaObjective areaObjective areaObjective areaObjective areaObjective areaObjective areaObjective areaObjective areaObjective areaObjective areaObjective areaObjective areaObjective areaObjective areaObjective areaObjective areaObjective areaObjective areaObjective areaObjective areaObjective areaObjective areaObjective areaObjective areaObjective areaObjective areaObjective areaObjective areaObjective areaObjective area
In-game waypoint: /way #650 54.0 54.4
Coordinates
- Objective area (centre of the marked area)Stormheim 56.4, 89.2
/way #634 56.4 89.2 - Objective area (centre of the marked area)Stormheim 67.7, 52.7
/way #634 67.7 52.7 - Objective area (centre of the marked area)Stormheim 79.9, 67.0
/way #634 79.9 67.0 - Objective area (centre of the marked area)Stormheim 55.6, 40.8
/way #634 55.6 40.8 - Objective area (centre of the marked area)Azsuna 55.4, 34.4
/way #630 55.4 34.4 - Objective area (centre of the marked area)Azsuna 50.0, 22.6
/way #630 50.0 22.6 - Objective area (centre of the marked area)Azsuna 39.4, 57.5
/way #630 39.4 57.5 - Objective area (centre of the marked area)Azsuna 48.8, 54.6
/way #630 48.8 54.6 - Objective area (centre of the marked area)Darkshore 31.7, 84.8
/way #62 31.7 84.8 - Objective area (centre of the marked area)Highmountain 51.7, 53.6
/way #650 51.7 53.6 - Objective area (centre of the marked area)Highmountain 57.7, 92.1
/way #650 57.7 92.1 - Objective area (centre of the marked area)Highmountain 33.7, 60.6
/way #650 33.7 60.6
Map coordinates of the pins above. An area the client draws as a shape is given by the centre of its points.
Nearby on the Stormheim map
- Turn the Keys
- Bjornharta
- The Dreaming Fungus
- Judgment Day
- Waking the Shieldmaiden
- Breaking the Bonespeakers
- Regal Remains
- The Runes that Bind
- Clear the Deck!
- Shielded Secrets
Other quests whose map markers the client places on Stormheim.
Getting there
Flight points closest to the quest’s first objective area marker on Stormheim:
- Hafr Fjall, Stormheim
- Dreadwake's Landing, Stormheim
- Thorim's Peak
Straight-line distances in yards between the quest’s own map markers (QuestPOI) and the client’s flight-point positions (TaxiNodes); flight paths and terrain are not modelled.
Community notes from Wowhead · 10 comments
Top 3 shown aboveThe comments below were written by Wowhead users. They are community notes, not TheWoWDB comments. See them in context on Wowhead.
The top 3 are shown in Top Comments above. Read all 10 on Wowhead.
 Spell: Mining Technique: Living LeystoneTeaches you how to mine living leystone more efficiently.
Experience6,150 XP
Storyline
Legion Mining
Part 3 of 12.
Previous: Leystone Seam Sample · Next: The Highmountain Tauren
- 1Leystone Deposit Sample
- 2Leystone Seam Sample
- 3Living Leystone Sample
- 4The Highmountain Tauren
- 5Where Respect is Due
- 6The Legend of Rethu Ironhorn
- 7Rethu's Journal
- 8Rethu's Pick
- 9Rethu's Horn
- 10Rethu's Lesson
- 11Rethu's Experience
- 12Rethu's Sacrifice
Storyline order is the client’s own QuestLine data from the current retail build.
Where this quest fits
Before this quest
Taken from the storyline's own step order.
- Leystone Seam Sample
This ore has clearly absorbed some of the latent ley energies within the Broken Isles. It is cool to the touch, and reflects light in odd, playful angles. Your trainer in Dalaran should analyze this.
After this quest
Taken from the storyline's own step order.
- The Highmountain Tauren
Ye've brought me a bit of interesting rocks to look at, <name>. I've got a special assignment for ye, if ye're up for it. I hear stories about these tauren, up in Highmountain, who claim mastery over minin'. I don't know if they're as talented as you or me, but they've been minin' leystone longer.
The storyline at a glance
Legion Mining has 12 steps, from Leystone Deposit Sample to Rethu's Sacrifice.
Maps its steps are placed on (steps per map): Highmountain (8), Dalaran (2), Darkshore (2).
Other storylines on the Darkshore map
- Darkshore
- The Warchief's Command
- Legion Skinning
- Felwood
- In Darkest Night
Steps, storylines and map placement from the client’s QuestLine, prerequisite and QuestPOI data; neighbouring quest text is Blizzard’s own (quest API), shortened to its opening sentences.