 TheWoWDB
What you need to do:
There are Purple and Blue currents (beams) and 4 seals on the wall.3 clickable locations for each current. 1 in the outer room and 2 in the center. So there are 4 pilars in the center that you can use.
You need to click on the seal when 2 currents point at it.
So lets look at our map https://i.gyazo.com/ee17285a8f7bc15e9c9c65994c0bc6da.png. If you click on "1" current will go to "3". Click on "1" again and current will switch to "4". Same for "2", it is switch between "6" and "5".
"3", "4", "5", "6" are also switches between 2 seals on the wall.
Here is video: https://www.youtube.com/watch?v=DkerBgvjbOcThis quest is part of the Leyline Bling
This achievement is a huge speed up for suramar storyline development. So do it as soon as you can. Suramar storyline is gated behind reputation and this Leyline Bling give 750 total repuation with [faction=1859]. I think it will give you 2-3 (maybe even more days advantage on a later stages)Cost: 1600 [currency=1155]
Reward:
- Leyline Bling
- 750 reputation with [faction=1859]
- 3 buffs [spell=226946], that increase chance to loot additional mana
Here is all locations in 3 mins, just entrances
https://www.youtube.com/watch?v=83Ttrer2M1sAnd here is long version with all quests and what you have to do
https://www.youtube.com/watch?v=ncd2BRnEts8NameCoordinatesQuestRep[currency=1155]VideoSoul Vaults29.0, 84.875250https://www.youtube.com/watch?v=BXHKxQ2qA4EFalanaar South20.4, 50.475250https://www.youtube.com/watch?v=CG4ppmv9iSwFalanaar North21.4, 43.375250https://www.youtube.com/watch?v=2uUB2TISOpoMoon Guard24.3, 19.475200https://www.youtube.com/watch?v=Yz3hQfgjvoAMoonwhisper Gulch35.7, 24.175200https://www.youtube.com/watch?v=sc8RQOwMeGk
Tapping the Leylines is part of Nightfallen But Not Forgotten - Feeding Shal'Aran storyline. More info in storyline link
Quest

Power Grid
A World of Warcraft quest in Suramar. Facts and objectives from the current retail game data.
The highest voted Wowhead comments for this page. They are community notes, not TheWoWDB comments.
If you are confused (as I was lol), here is a step-by-step guide.
There are two source lights: a blue one (where you are) and a purple one at the back of the tunnels. Both of these can shine into either the left or right passage (you change direction by clicking on them) and these lights will shine into the middle room where the action takes place. In the middle room, you can manipulate the pillar with the blue light and the pillar with the purple light by clicking on it so that both lights shine on a specific statue. Click the statue to seal it (notice the gold marker on the mini-map will disappear when sealed). Switch your source light to the other passage, manipulate the pillars in the middle room so that both lights fall onto a statue, seal and repeat until finished.
Clean out the spiderlings as you go along to ensure that they do not attack you when working.
When you enter, the blue light will shine into the right passage and the purple into the left passage.
Step 1: Blue Right, Purple Left
In the middle room, click only on the pillar with the purple light. Both beams will now fall on the NW statue (Moon Seal). Click on the statue to seal it.
Step 2: Blue Left, Purple Left
Follow the blue light to the source near to the entrance, click it and it will now shine into the left passage. In the middle room click on both light catching pillars. Both will now point to the SW statue (Elven Seal). Click on the statue to seal it.
Step 3: Blue Left, Purple Right
Follow the purple light to the source at the rear, click it and it will now shine into the right passage. In the middle room click only on the pillar with the blue light. Both beams will now fall onto the SE statue (Beast Seal). Click on the statue to seal it.
Step 4: Blue Right, Purple Right
Follow the blue beam to its source, click it and it will now shine into the right passage. In the middle room click on both light catching pillars. Both beams will now fall onto the NE statue (Star Seal). Click on the statue to seal it.
Hand the quest in to Valtrois standing at the blue light source and hearth out.
Enjoy!
This can be confusing. There are two different beams of light: one blue and one purple. Each beam originates from its own post. The two posts are in opposite corners of the cavern.
To complete the quest you have to make a blue beam and a purple beam both point to one of the Seals in the inner chamber AT THE SAME TIME. To redirect the blue beam you can click its source to change it to go left or right; then you can click on one of the poles in the inner chamber to bounce the blue beam to the seal you want. If it won't bounce to the seal you want then go back to the corner and change the direction at the source. Then do the same with the purple. Once the seal has both a blue and purple hitting it, click the seal and it will activate (its yellow outline will go away).
Repeat this task for the remaining three seals in the center room.
Quest facts
Check whether you have already completed this quest
in-game: /run print(C_QuestLog.IsQuestFlaggedCompleted(41028))
What to do
Partially Enchanted Nightborne Coin, 20g 22s, 6,150 XPDescription
This station has fallen into disrepair. The circuit is broken, and to mend it we must recharge the seals in the central chamber. Both a high potency current and low potency current are needed for each seal. Direct the currents to point at the same seal, then engage the seal. Me? I shall supervise. You are the help, after all.
Where to go
Pins are the quest’s own POI points from the current retail client, projected onto the in-game zone map. The game marks one blob as the quest’s turn-in; the rest are objective areas. Points that fall outside a map’s window are dropped rather than guessed at.
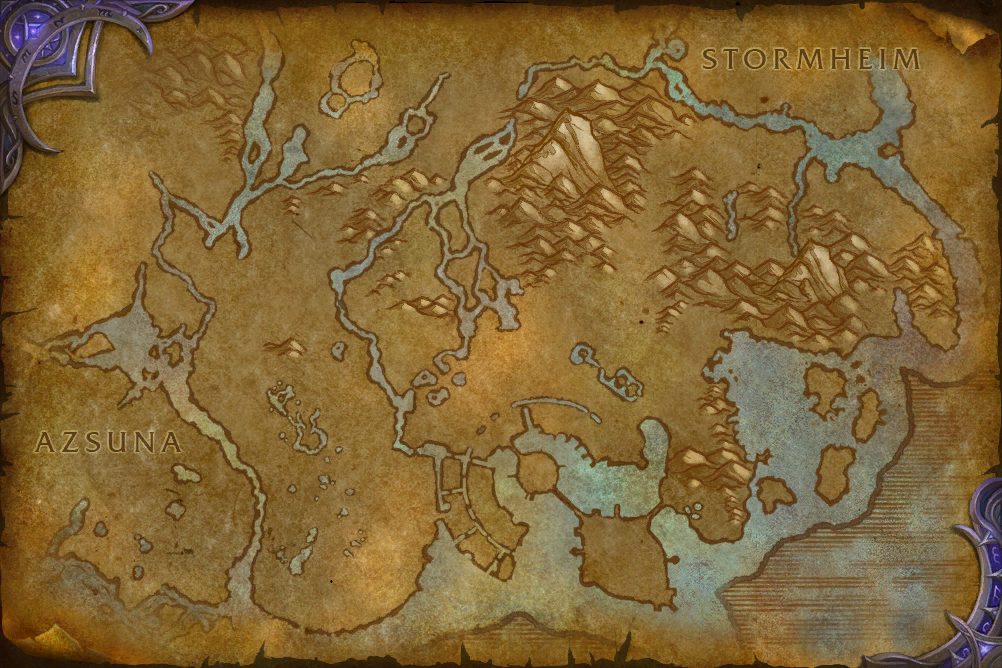 Objective areaObjective areaObjective areaObjective areaObjective areaObjective areaObjective area
In-game waypoint: /way #680 45.8 41.7
Coordinates
- Objective area (centre of the marked area)Suramar 44.6, 40.3
/way #680 44.6 40.3 - Objective areaSuramar 43.6, 38.3
/way #680 43.6 38.3
Map coordinates of the pins above. An area the client draws as a shape is given by the centre of its points.
Nearby on the Suramar map
- Purge the Unclean about 80 yards
- Something in the Water about 90 yards
- Bad Intentions about 280 yards
- The Lost Advisor about 280 yards
- An Ancient Recipe about 280 yards
- Tools of the Trade about 290 yards
- The Last Chapter about 350 yards
- End of the Line about 350 yards
- The Final Ingredient about 350 yards
- Paying Respects about 350 yards
Quests whose map markers the client places closest to this one on Suramar, nearest first. Distances are straight lines between the markers.
Getting there
Flight points closest to the quest’s first objective area marker on Suramar:
- Meredil, Suramar
- Obsidian Overlook, Highmountain
- Crimson Thicket, Suramar
Straight-line distances in yards between the quest’s own map markers (QuestPOI) and the client’s flight-point positions (TaxiNodes); flight paths and terrain are not modelled.
Community notes from Wowhead · 112 comments
Top 3 shown aboveThe comments below were written by Wowhead users. They are community notes, not TheWoWDB comments. See them in context on Wowhead.
The top 3 are shown in Top Comments above. Read all 112 on Wowhead.
Reward details
Items you receive
“Hidden amongst the coins in Valtrois' 'tip', this coin holds an innate power.”
Reputation: The Nightfallen +200
These exiled Nightborne elves suffer withdrawals after being cut off from the Nightwell. They oppose their people's alliance with the Legion and fight for some kind of redemption.
Reputation group: Legion.
Other quests in Suramar that reward The Nightfallen reputation: Answering Aggression (+250), Regroup (+250), Crackdown (+250), No Reason to Stay (+250), Trail of Echoes (+250), The Only Way Out is Through (+250).
Item facts are the current retail client’s (ItemSparse); the specialisations for a pick-one item are the ones the Blizzard quest API lists; faction and currency text is the client’s own. Lowest listed price = the US commodity auction house now.
Storyline
Feeding Shal'Aran
Part 2 of 3.
Previous: Tapping the Leylines · Next: Feeding Shal'Aran
- 1Tapping the Leylines
- 2Power Grid
- 3Feeding Shal'Aran
Storyline order is the client’s own QuestLine data from the current retail build.
Where this quest fits
Before this quest
Taken from the storyline's own step order.
- Tapping the Leylines
The arcways were built to tap into the magical leylines beneath Suramar. As we learned to subsist on the Nightwell, the old facilities fell out of use. This chamber is clearly receiving power from elsewhere.
After this quest
Taken from the storyline's own step order.
- Feeding Shal'Aran
With leyline energy feeding in from Anora, this chamber can begin to awaken. It will be a slow process, and we must take care to mask this activity from our enemies, a process which itself requires enormous effort and focus.
Also counted by Leyline Bling
Its criteria name 8 quests; others include:
- Leyline Feed: Elor'shan
- Leyline Feed: Kel'balor
- Leyline Feed: Ley Station Moonfall
- Leyline Feed: Ley Station Aethenar
- Leyline Feed: Falanaar Arcway
- Leyline Feed: Falanaar Depths
- Leyline Feed: Halls of the Eclipse
The storyline at a glance
Feeding Shal'Aran has 3 steps, from Tapping the Leylines to Feeding Shal'Aran.
Maps its steps are placed on (steps per map): Suramar (3).
Steps of this storyline count toward:
Other storylines on the Suramar map
- Blood and Wine
- Balance of Power
- An Elven Problem
- Crafting War
- The Waning Crescent
- Eminent Grow-main
Steps, storylines and map placement from the client’s QuestLine, prerequisite and QuestPOI data; neighbouring quest text is Blizzard’s own (quest API), shortened to its opening sentences.
Achievements
Completing this quest counts toward this achievement.

- Leyline Bling: its criteria name 8 quests, this one included.